Addition: Brockman
Completed October 2016
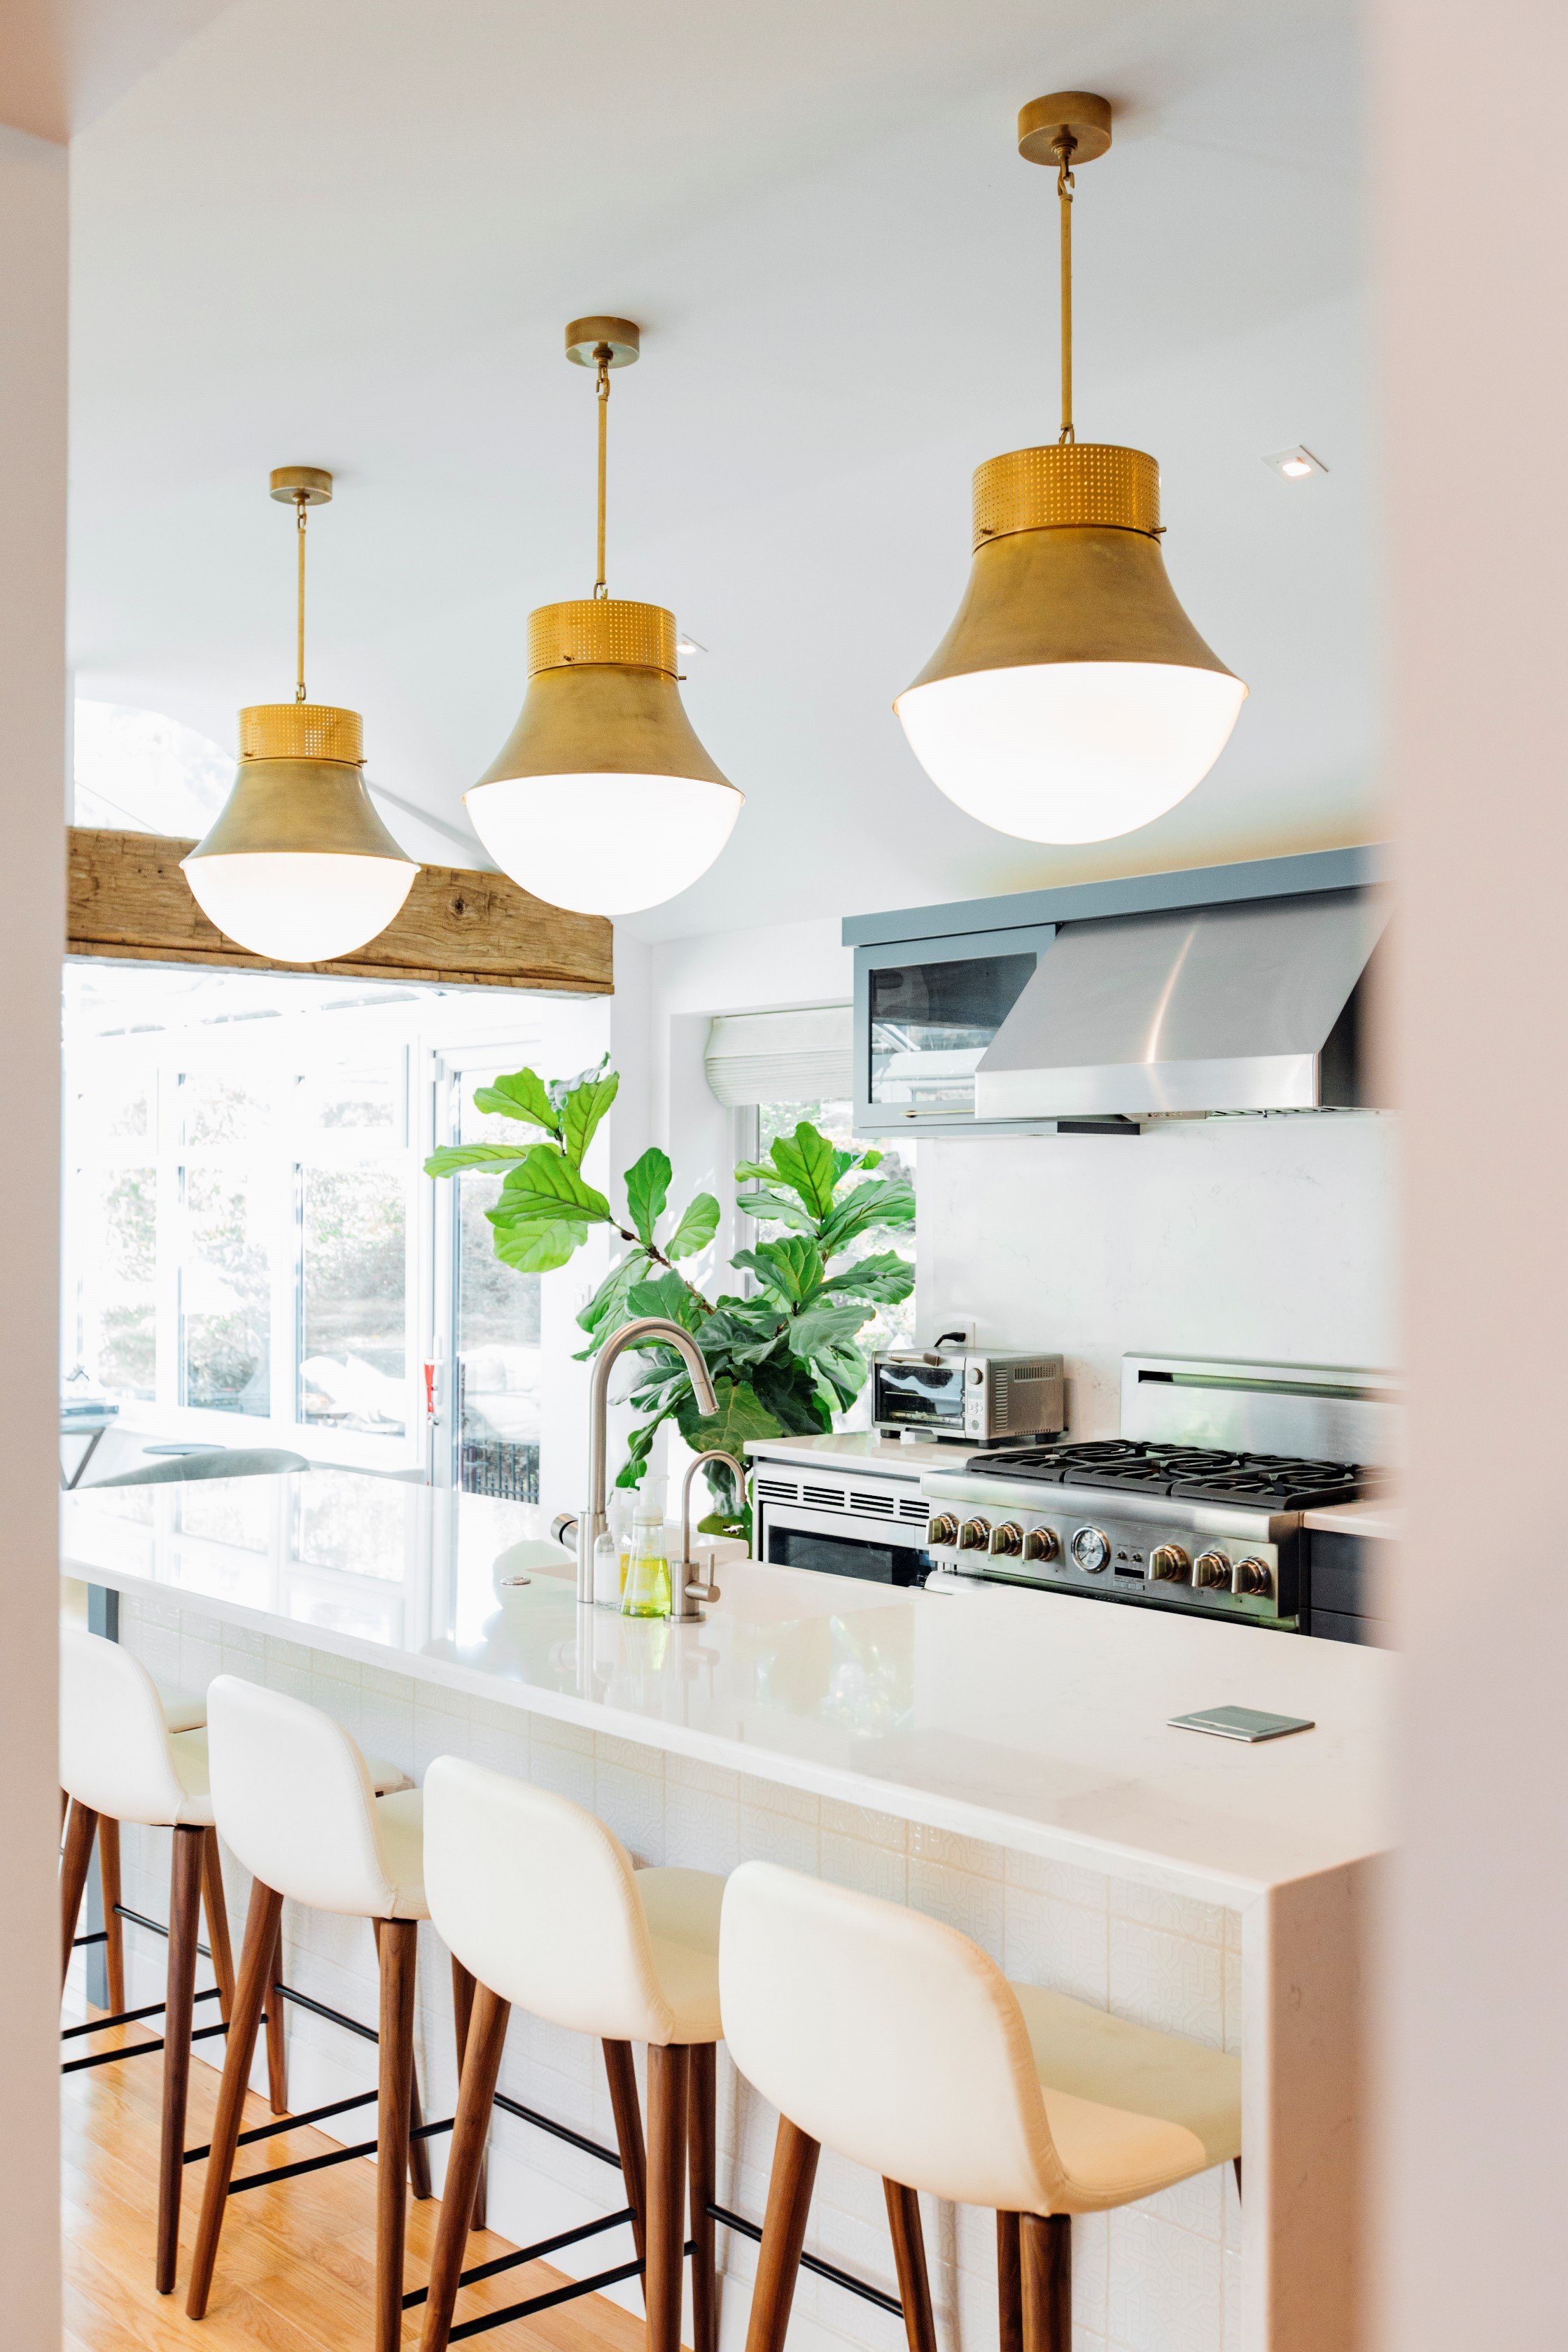
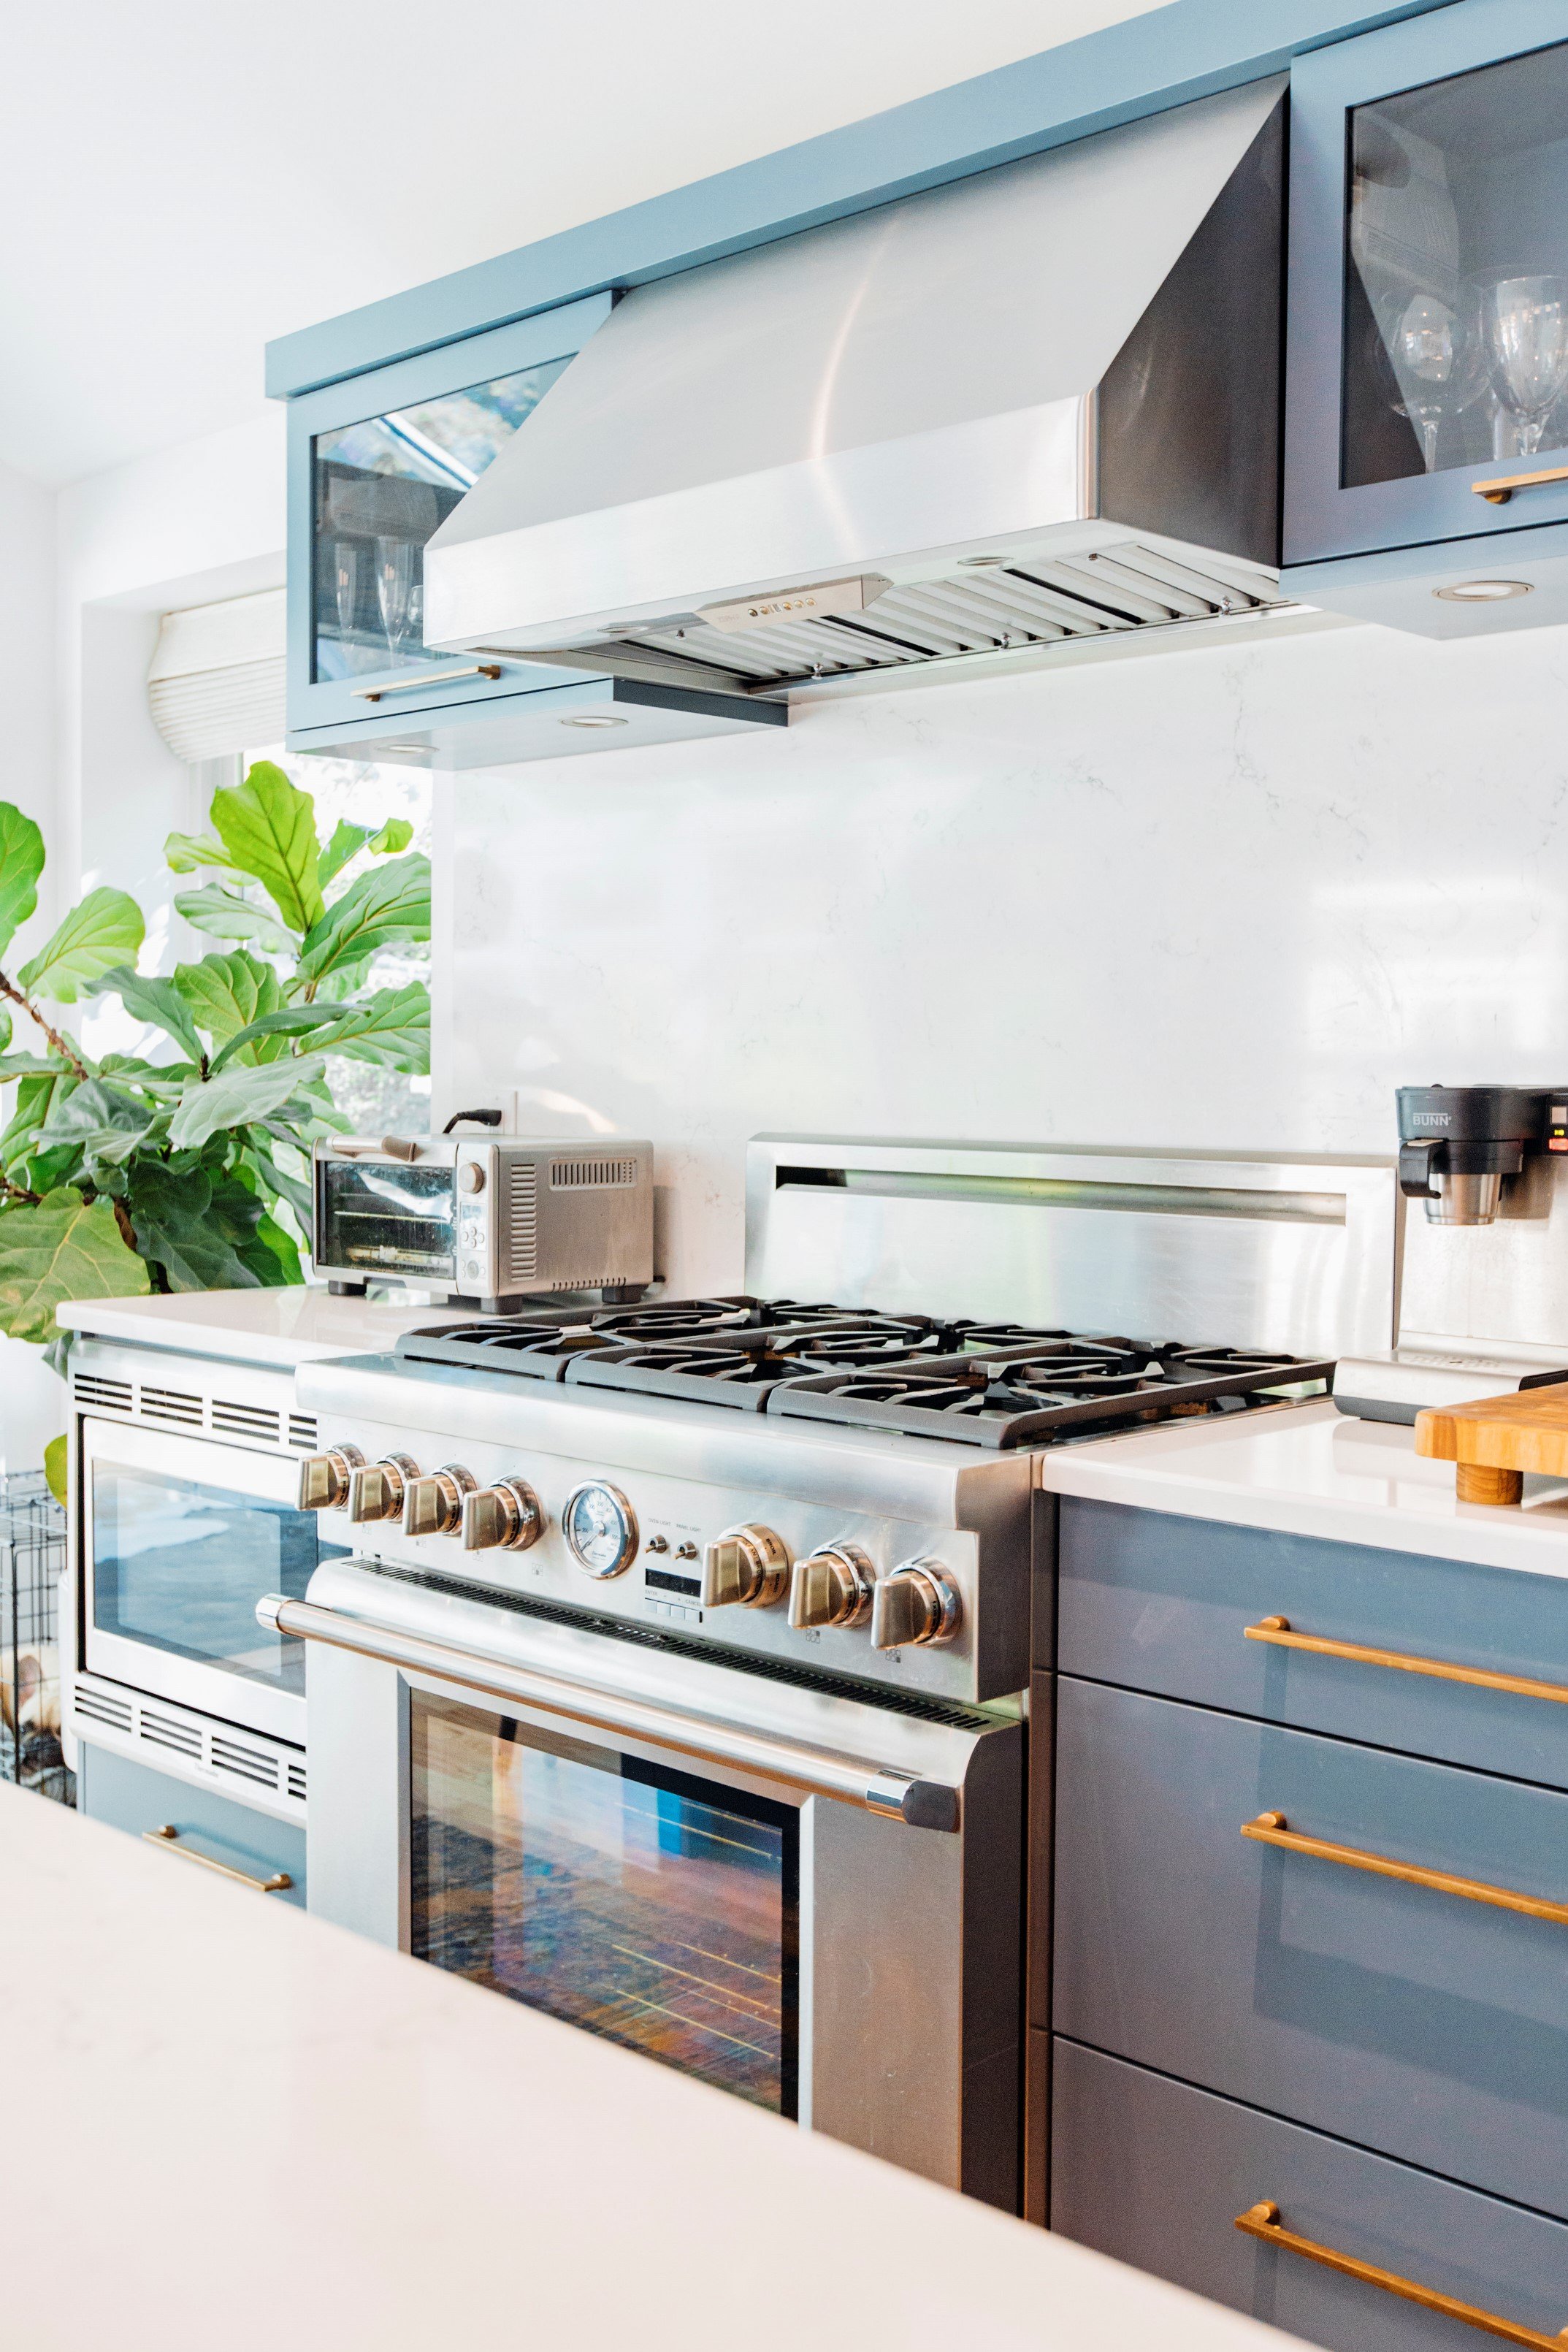
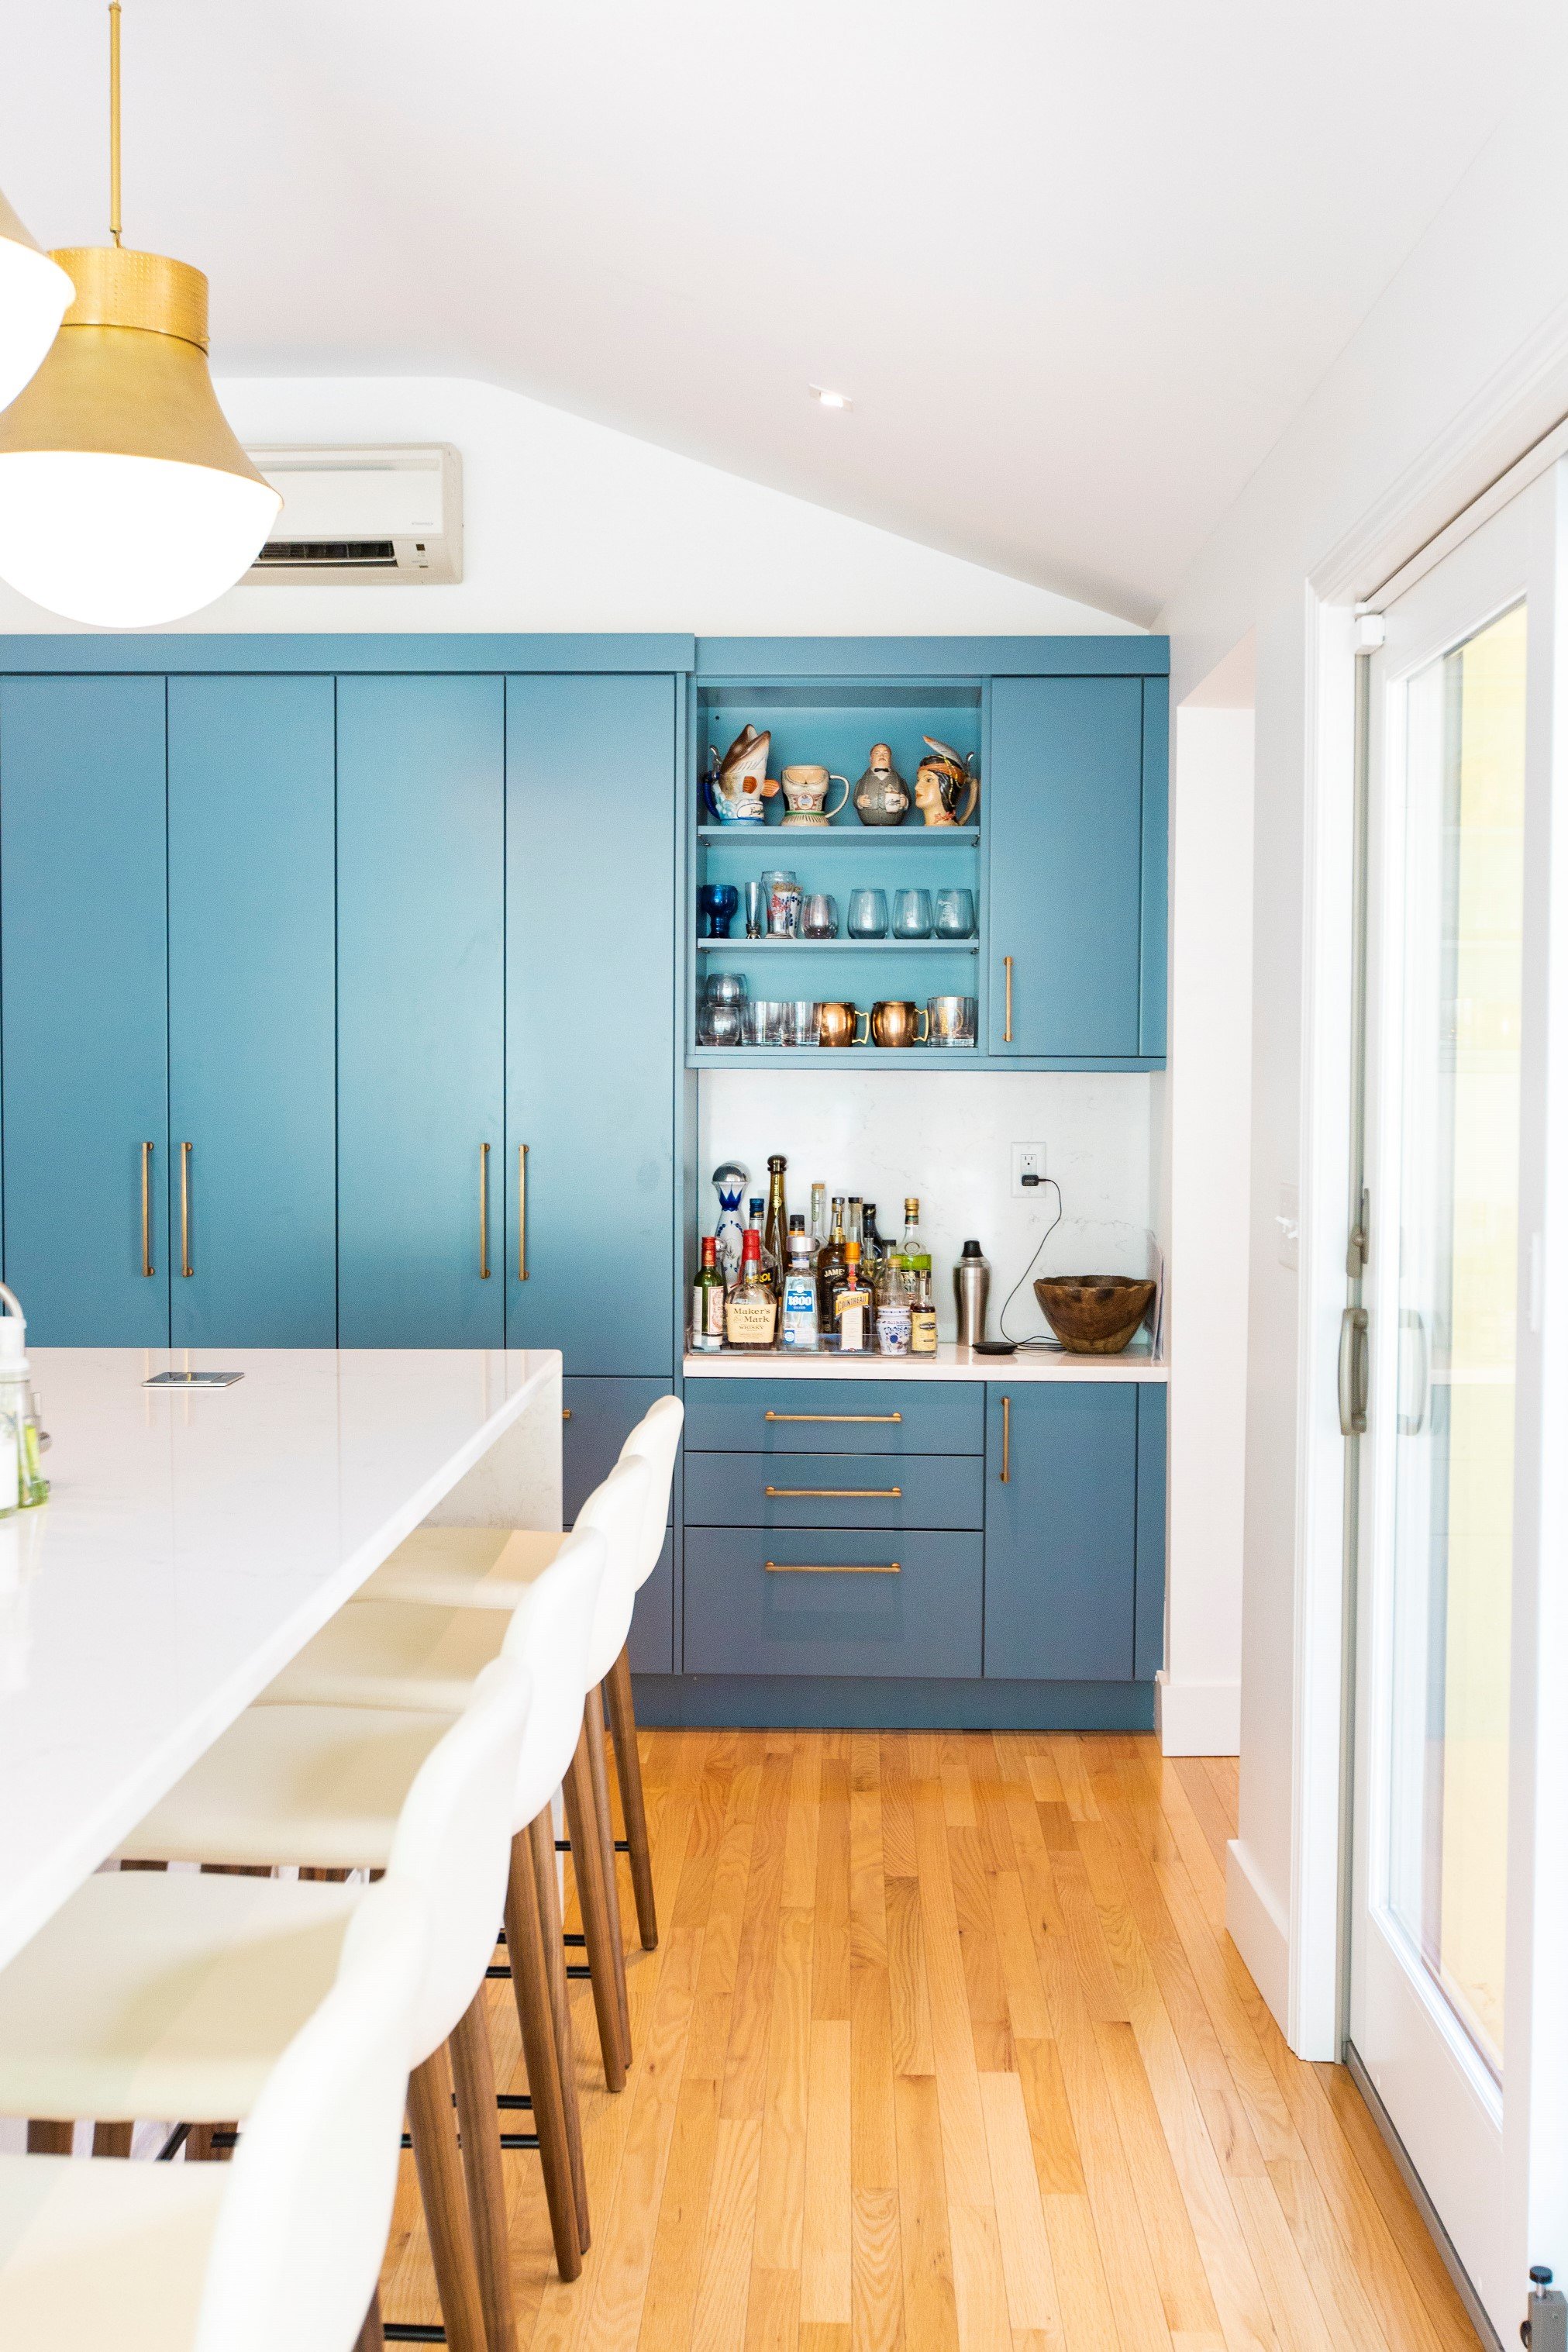
AFTER PHOTOS


March 22, 2016
You may be surprised by the beauty of this major cut-through... Surrounded by a canopy of majestic trees, a bit back from the road is this charming 1940s ranch home. We will be adding a 2nd story which will include a master bedroom, a walk in closet and bathroom.
Front view
Back view.
The wall with the painting will be removed; in its place will be the staircase to the 2nd floor.
This is the back view of the wall that will be opened.
March 28, 2016
Sometimes we use our 3D program to get a sense of scale and proportion of new spaces,
and to help show clients how things might look.
April 5, 2016
Dust protection, the first step in our remodel process, is finished, and the concrete floor has been marked for the new column and concrete footing.
OMG!!!... Who put that drain there?
Buried beneath the concrete was a footing drain that ran through the center of the house.
The drain is repaired and the steel column is set on a new concrete footing.
The column is fastened to the existing beam, and will carry additional loads from the remodeling work to occur above.
April 13, 2016
The rain and snow has stopped for a week, and crews arrive to start demolition of the existing roof.
They make quick work of tearing off shingles and removing the structure.
Blown-in insulation is collected in large plastic bags, and will be put back in attic spaces after the new structure is framed.
Bye bye roof. Let the framing begin.
April 20, 2016
The second floor framing and plywood sub-floor are down.
They build walls on the floor and stand them up in place.
Our lead carpenter, Brian, works out details with the framing crew.
May 3, 2016
Wall framing continues. Temporary bracing holds the walls in place until everything is tied together.
This beam will support the new roof.
The beam is supported with a PSL post (parallel strand lumber). This point load is transferred all the way through the house to the new steel column and footings below.
Rough framing is almost complete and the second floor is taking shape.
May 10, 2016
Masons have their scaffolding up and they are ready to extend the chimney.
Code requires that the chimney be 24” above any portion of the building within 10’.
We were lucky the brick had already been painted, and matching color was not critical, just size and texture.
May 17, 2016
Windows are installed, and the addition is almost weather tight.
In this corner will be the bathroom. The window is a pre-fabricated acrylic block unit, which will provide light yet maintain privacy in the future shower.
May 24, 2016
Rough plumbing has started.
Just as we suspected, we needed to run the drain in the ceiling at the first floor bathroom.
This will get finished with a soffit similar to the one over the shower.
May 31, 2016
Exterior window trim goes up on our second-story addition. A mix of wood trim and steel siding requires a little more labor. But it is important to tie the new work into the existing style.
Steel siding has started. Gary stops by the jobsite to see the progress and get a laugh from the carpentry crew.
One wall is finished. Things are coming together.
June 6, 2016
Steel siding continues.
Blocking for the porch roof is covered with matching colored aluminum.
The white wood trim will be painted.
June 14, 2016
Work is moving along both inside and out. The painter is working on exterior trim and the brick chimney that was extended.
Rough plumbing and rough electrical are complete and we are ready for insulation. Foam has been sprayed at the eaves for maximum thermal protection.
Insulation baffles at the ceiling joists maintain necessary air flow.
Rooms are starting to take shape.
June 21, 2016
It’s time for insulation. Spray foam insulation goes in the areas that are too small for fiberglass to meet energy standards.
Fiberglass batt insulation is installed at the rafters.
Cellulose insulation is sprayed into the stud cavities and shaved off flush with the wood.
All loose cellulose is vacuumed and reused.
Insulation is complete, and we are ready for drywall.
June 28, 2016
Here comes the drywall delivery truck.
Who says this isn't as exciting as a Zappos box?
A crane hoists the heavy gypsum board sheets…
…up through the second floor window…
…where it is unloaded and distributed in the new rooms.
July 7, 2016
The plaster contractor is quite adept at walking on stilts.
The dust walls have come down to allow work to happen where old meets new.
The bathroom is ready for tile and paint.
This window was added to the project just before construction began. It has proven very useful (that’s where the drywall was hoisted through) and it allows wonderful light and interesting views.
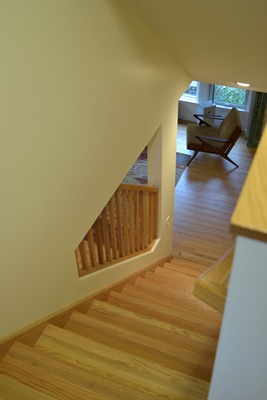
The stairs will get oak treads and risers.
We opened the existing side wall of the stairs. This will have oak railings.
July 12, 2016
Our designer, Susan Amrhein, stops in to check on progress :-)
The master closet is outfitted with organizers.
The walls have a first coat of paint.
This room is currently being used as a staging area for tile.
Tile has started in the bathroom, the large format tiles are laid in a stacked pattern.
July 19, 2016
Tile on the shower walls continues. Cement board goes up first, giving a rigid support for the tile. The shower pan is going in, and will be tested to make sure it holds water.
The HVAC contractor is back to set the mini split system that will heat and cool the rooms.
July 26, 2016
The front door is covered with a custom aluminum canopy, ordered from InnoTech Manufacturing in southern Illinois. It has a powder coat finish.
Blocking was installed in the wall before the steel siding went up, to provide a place to fasten the rods.
August 2, 2016
The shower walls and shampoo niche are tiled. It is a fussy detail to have the niche align with the grout lines, but it looks great when it’s finished.
The porcelain tile floors have been grouted. The cabinets will be set and the countertops will be templated and fabricated.
August 9, 2016
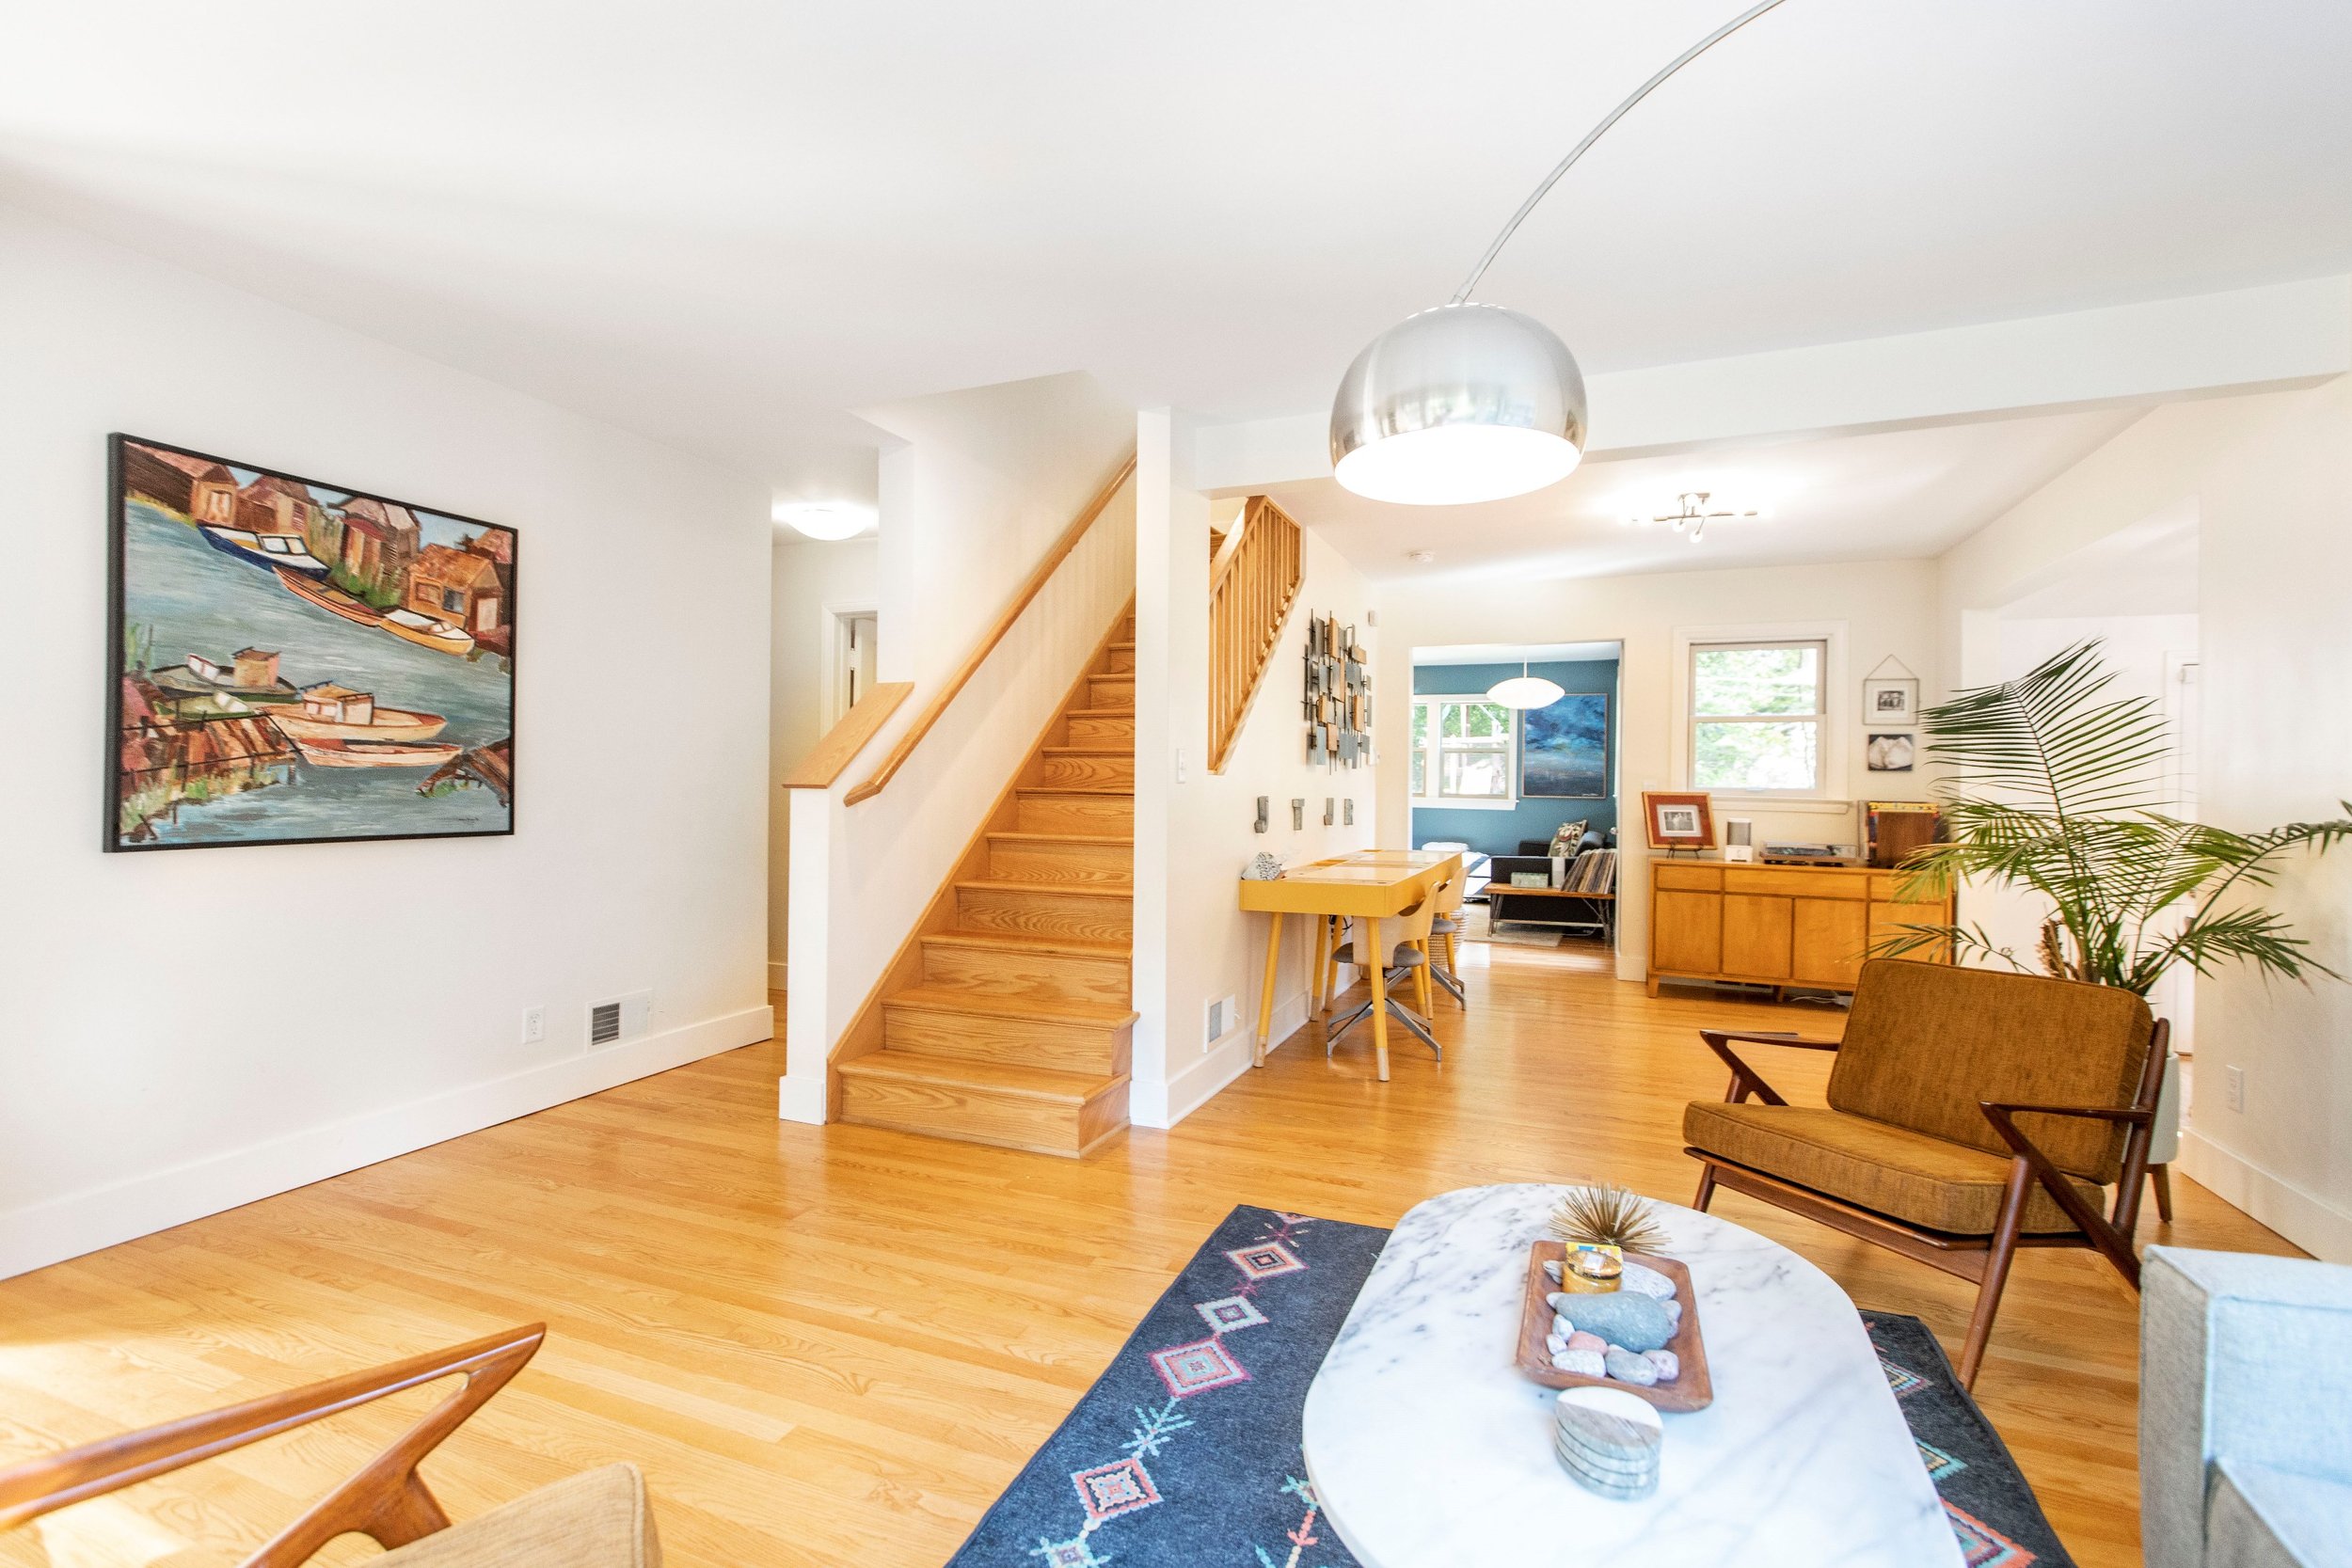
Pre-finished oak flooring runs in the hall and at the landing at the top of the stairs. Floor protection is taped down to keep from scratching the completed work.
Oak risers, treads and stringers finish the stairs and tie everything together from top to bottom.
Oak railings fill the new opening.
The painter will finish everything to match the oak floors which cover the first floor.
August 23, 2016
Countertops have been templated, fabricated and installed.
The plumbers have returned and installed the plumbing fixtures.
Bath accessories, such as towel bars, paper holders and robe hooks, have been mounted, and then removed for final painting. They will be reinstalled very soon. We wait until the last possible moment to remove the plastic coating that protects the cabinet finish.
The mirror has been ordered, and will replace the construction drawing taped to the wall.
The countertop is Corian, which is durable and easy to clean, and the faucets are American Standard.
September 1, 2016
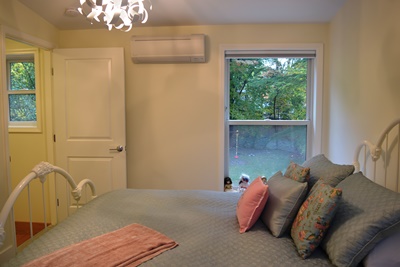
The new Flor carpet squares have been laid in the bedrooms.
This is a walk through closet, no doors.
The mirror is in. The light fixtures are LED bath bars, Landi from Kichler.
The shower has no door. The tiled walls wrap the corner to catch any water spray.
September 14, 2016
The paint colors on the wall look different because they are.
The wall on the right side of the corner is dry erase marker paint.
This a view from the top of the stairs after they are finished.
Oak stairs from the first floor looking up.
This is a light fixture by Quoizel, named Ribbons, supplied from Gross Electric.
Love how the ribbons are reflected in the chrome globe at the center of the fixture!
October 20, 2016
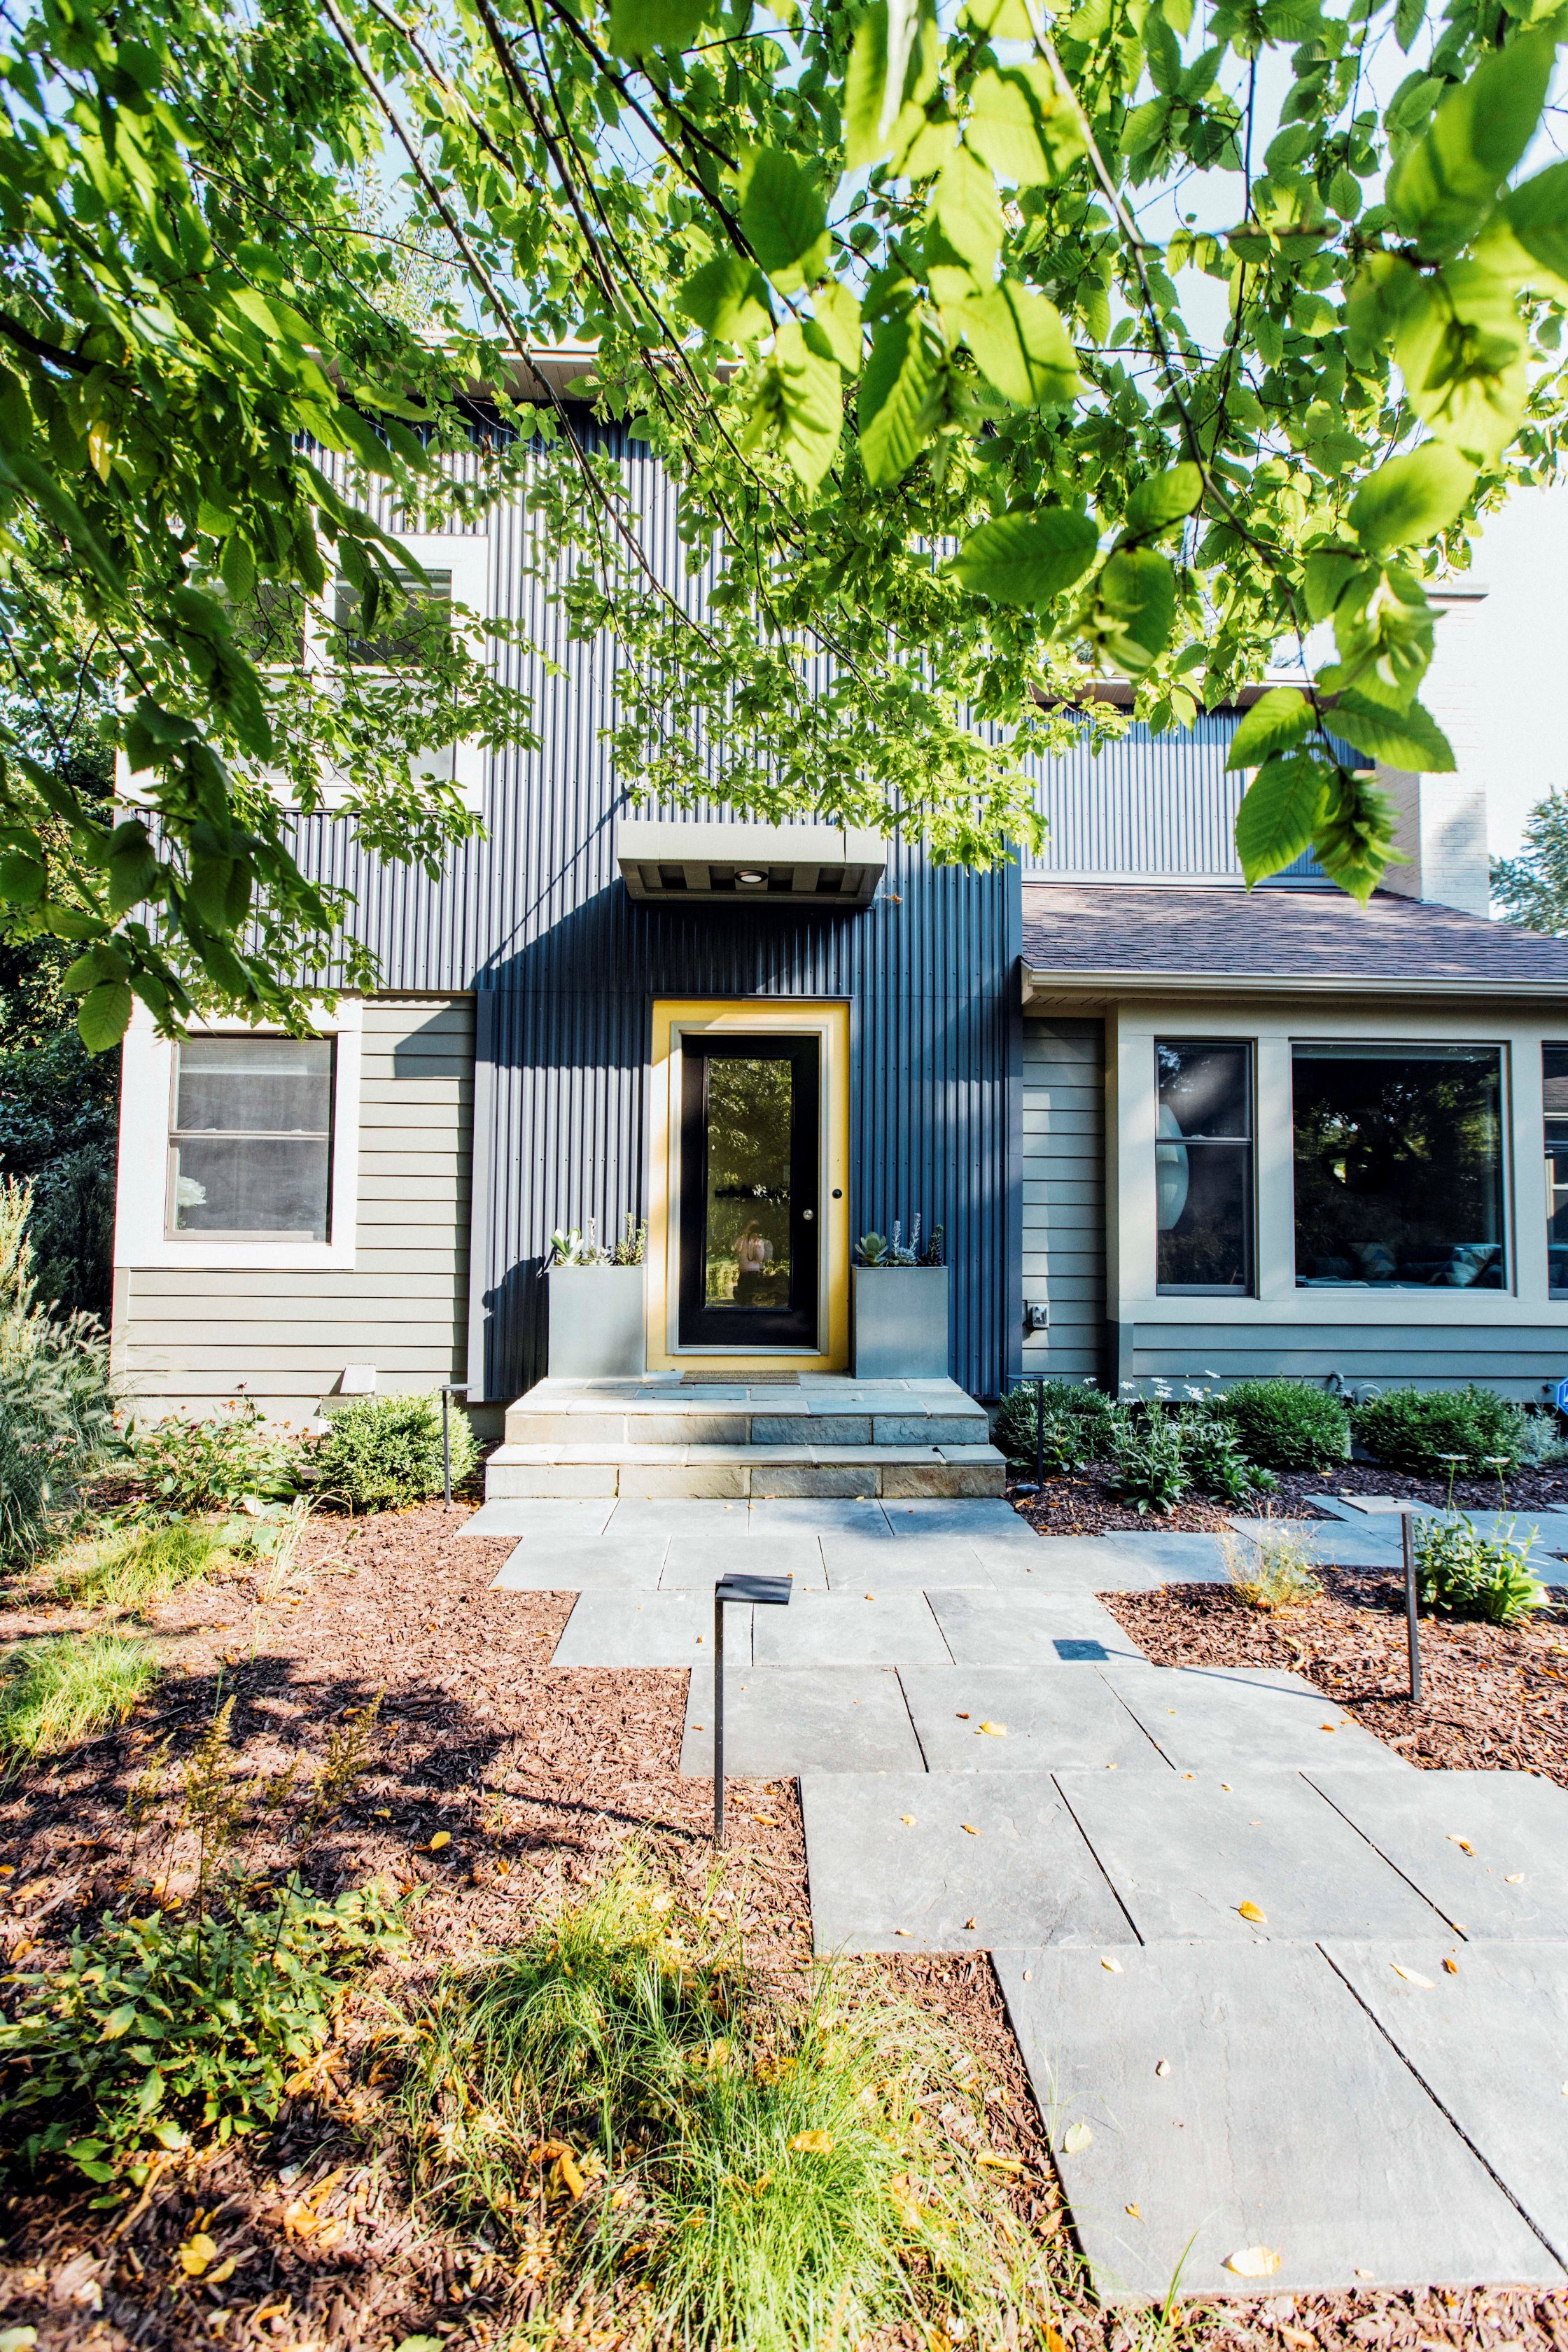
Our project is now complete. The home, nestled behind majestic trees on Brockman, got a second story and is still nestled behind majestic trees that are now shedding their gorgeous leaves. Our clients are so happy with their new addition of 2 bedrooms and a bathroom. This pop up completely transformed the way they live and they are now able to truly enjoy their space.