
Whole House Renovation & Addition: Water Hill
Completed May 2014
AFTER PHOTOS


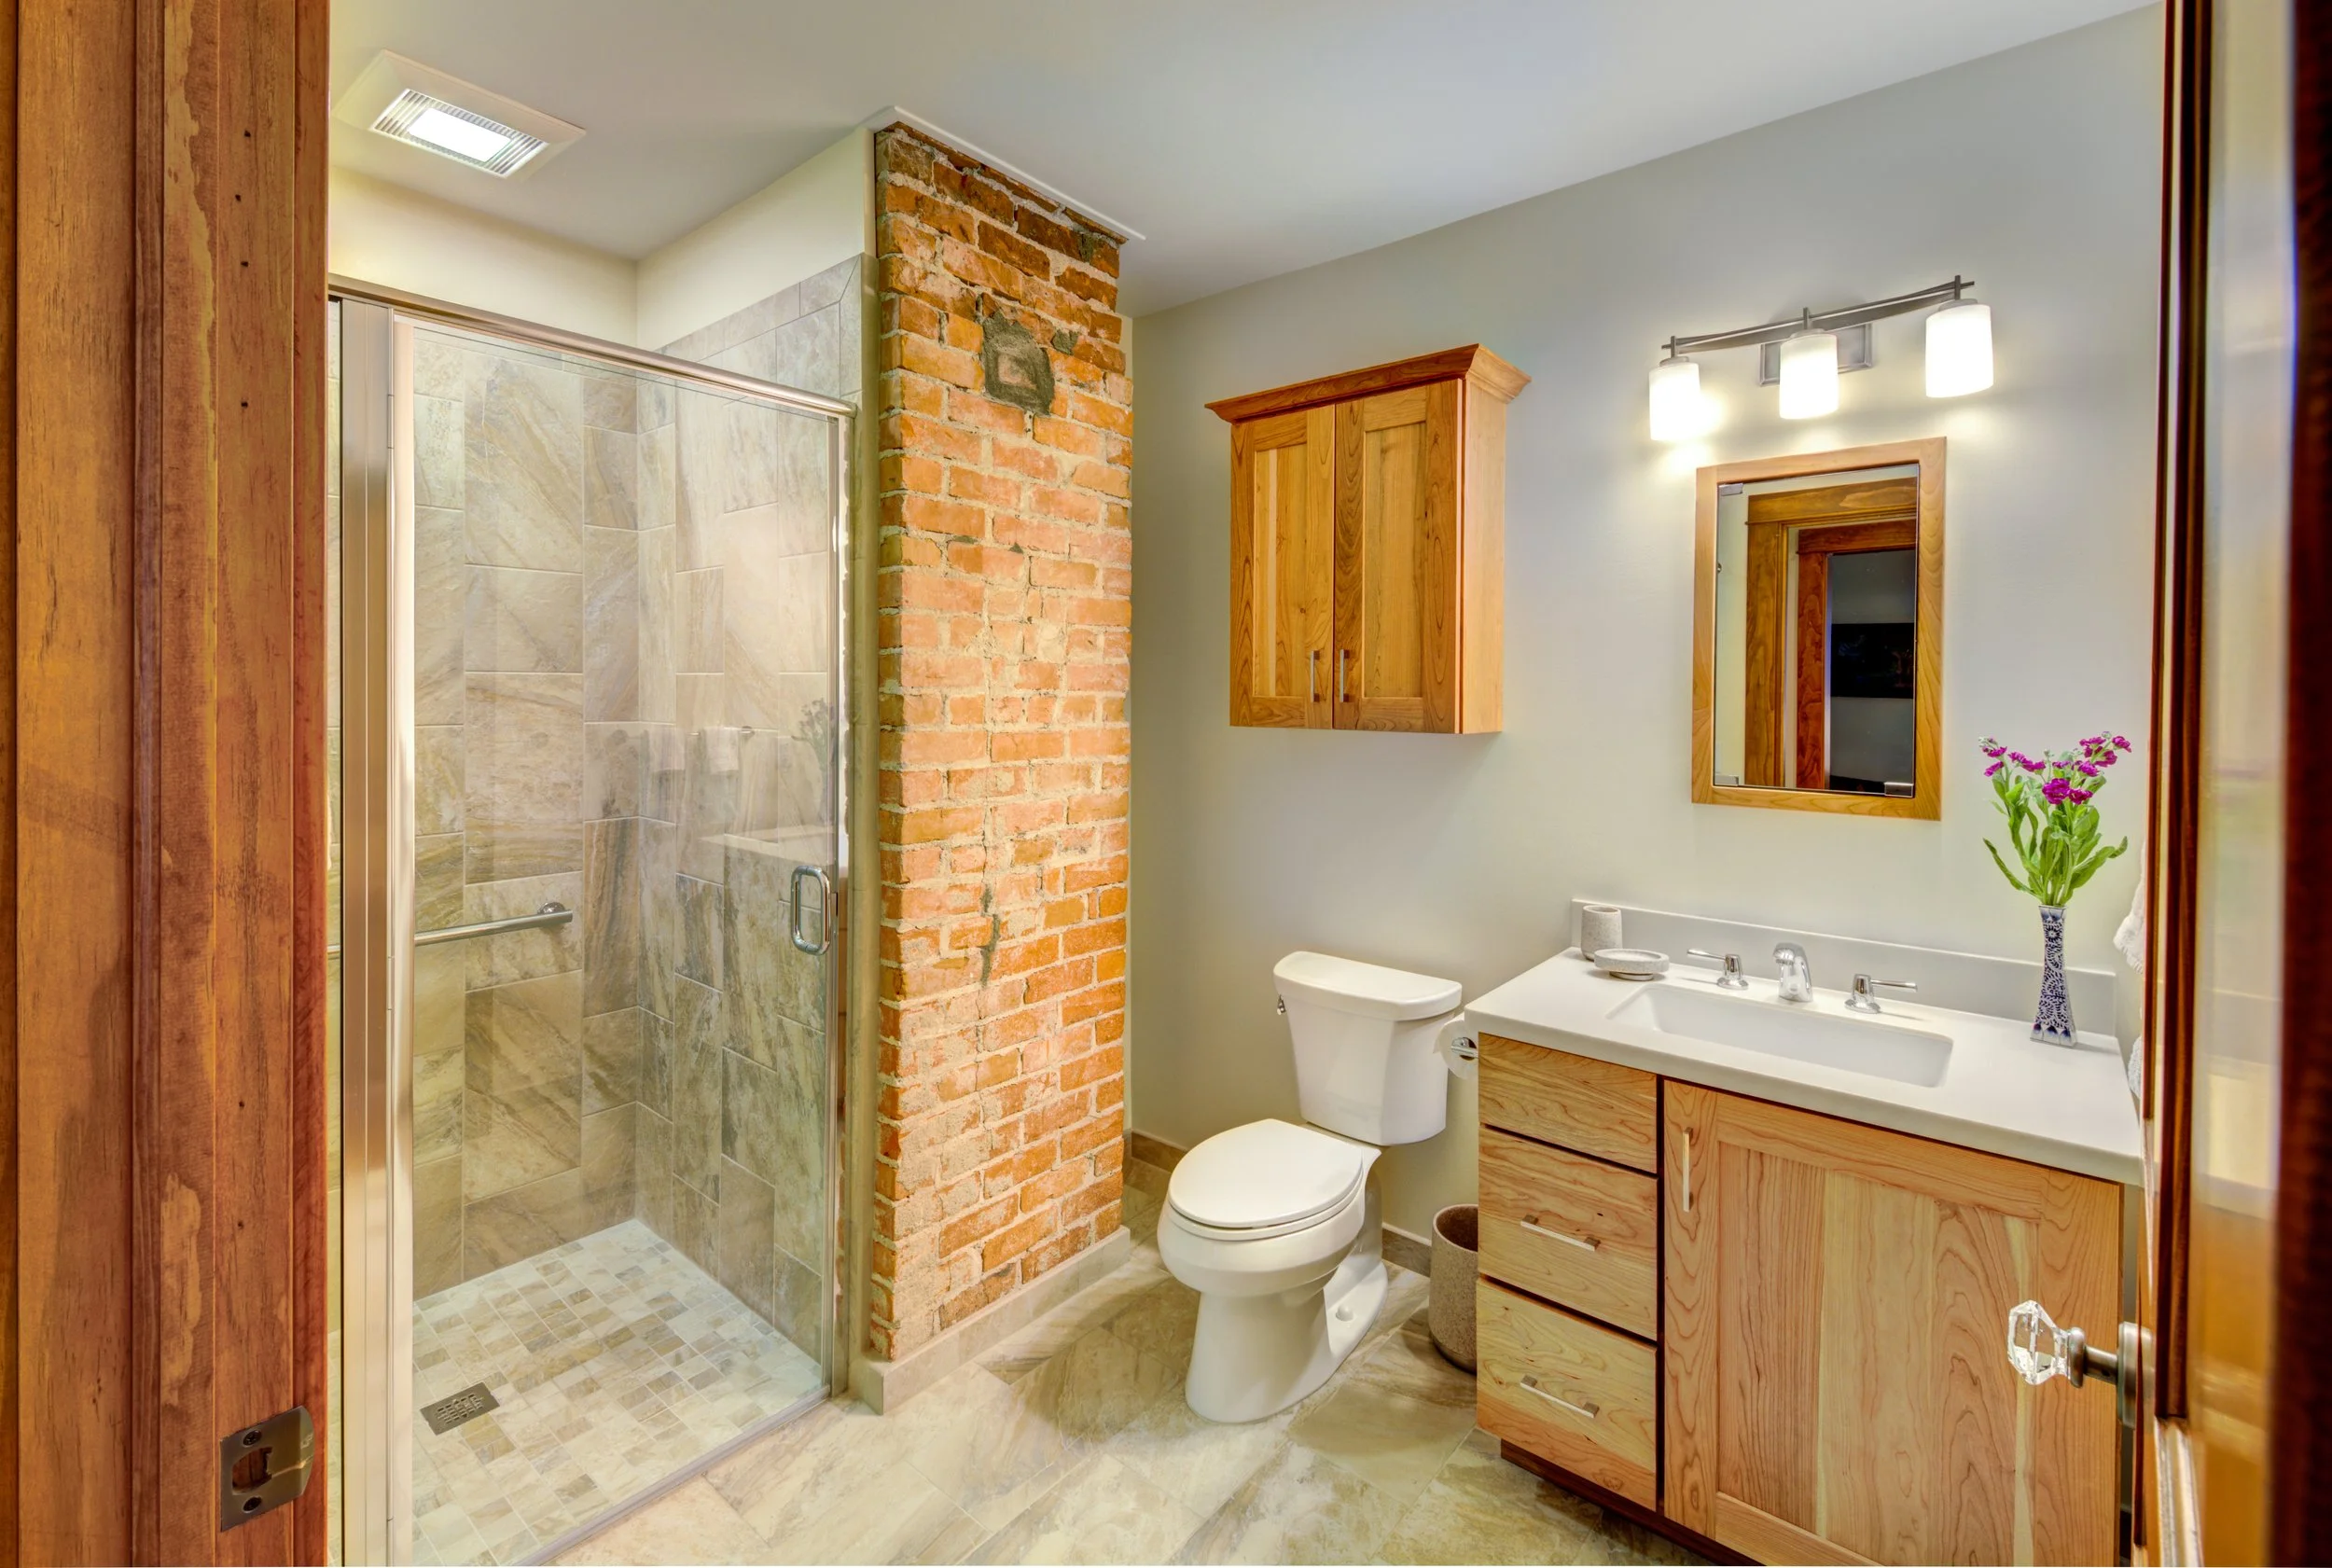


Home remodeling for all stages of life! This 1890's farmhouse in Water Hill, Ann Arbor was transformed with a reconfigured floor plan that will allow our clients to age-in-place with grace and comfort. The old cramped dining space was remodeled into a new first floor bathroom with a roll-in shower. To maintain the charm of the farmhouse, we kept the original brick chimney in this Rochman Design-Build renovation. See the before & After photos in our gallery.
September 3, 2013
This project involves a large addition and
major renovation throughout the house.
The existing plan is on the left, with items to be demolished in red.
The future plan is on the right, with the darker elements being new.
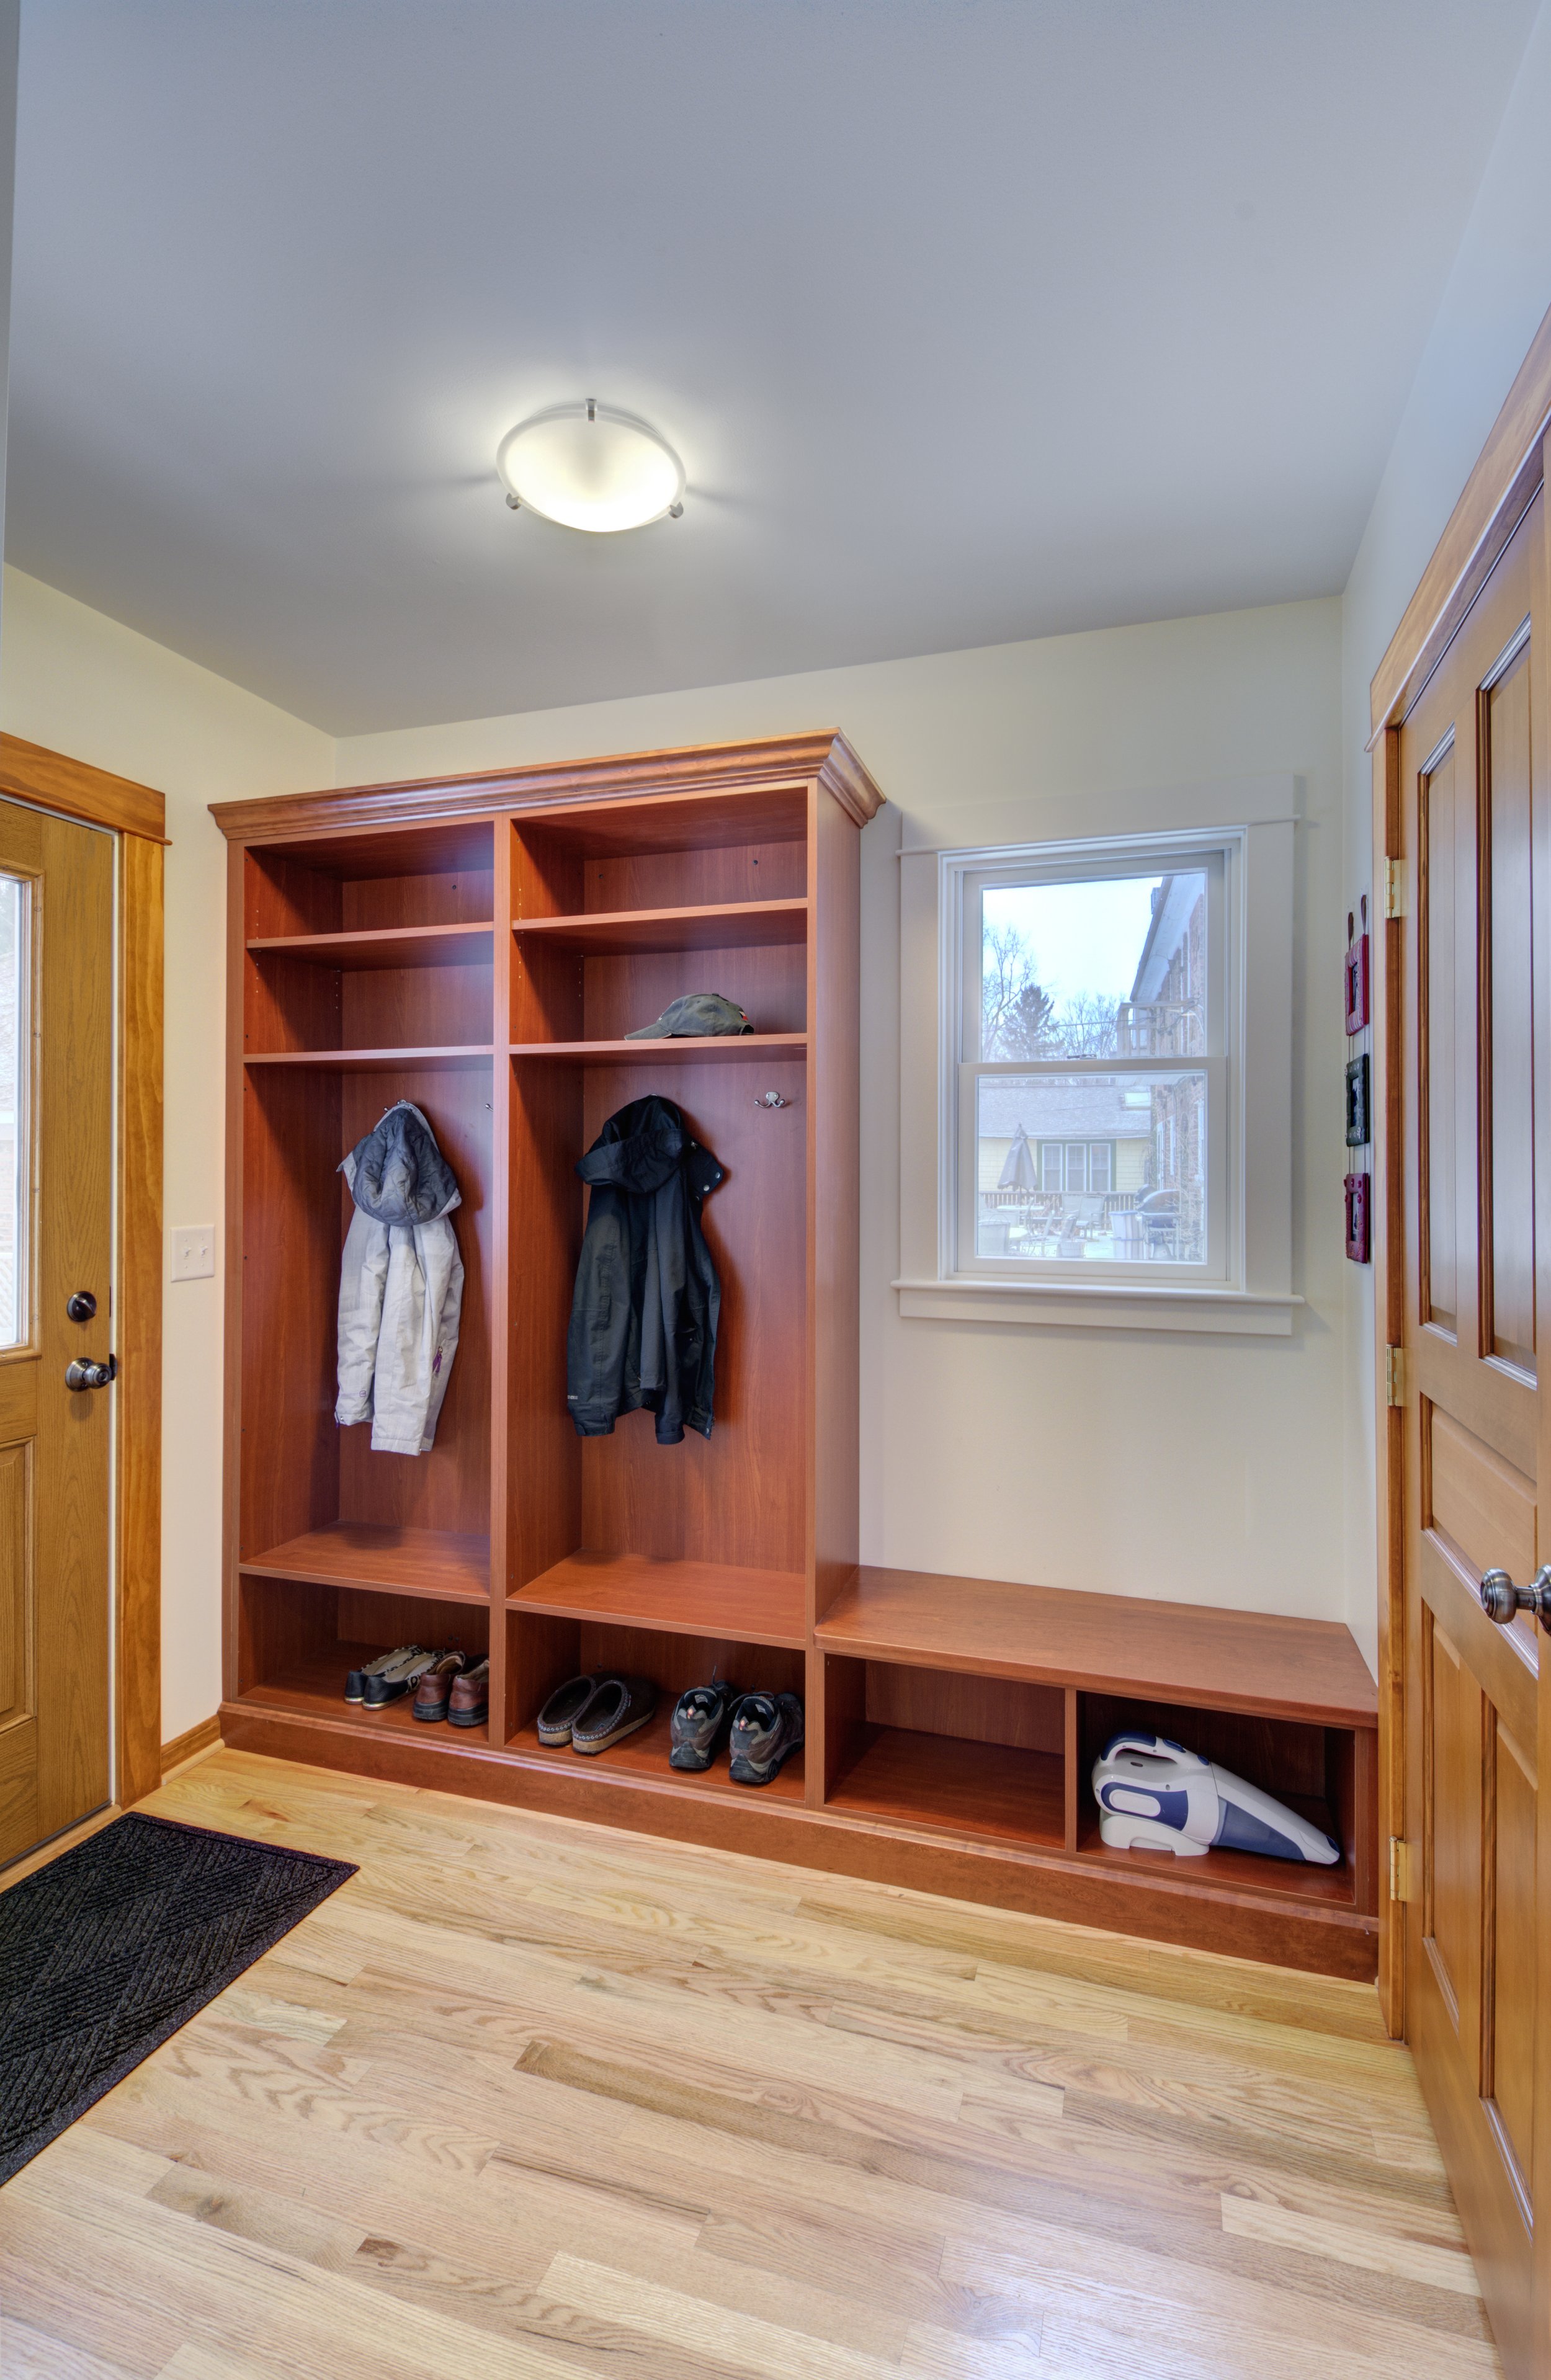
The entire kitchen will be demolished. A new, larger one will be
built in its place, in the new addition, along with a new mudroom.
This wall will be removed, and the main floor expanded
outward to create a much larger dining room.
At the font of the house, these spaces will be reconfigured to create
a better stair to the basement and two new studies.
September 18, 2013
The existing kitchen/porch was in extremely poor condition.
So we are demolishing the entire thing.
Foundations will be removed as well.
This prior addition was uniquely supported by this “chicken leg”...
yeah, not sure what they were thinking either!
A new wall of the additional will support it in
the final project, but this temporary post
is in place for during demolition and framing.
Plenty of smaller scale demolition is in progress as well.
September 24, 2013
One of the challenges of this project is the old foundations. While
they were stable before our work, digging new foundation nearby
could have potentially caused them to collapse.
Thus one of our first steps was to shore up the house, and
remove all the foundations adjacent to our new work.
They are replaced with new concrete block walls, which will
tie into the addition foundation walls more easily.
At the back of the house, the construction was too dangerous to try and
salvage. The kitchen will be built from scratch on entirely new foundations.
October 1, 2013
Work is currently focused on getting the foundations built.
After the initial layout, our masons focused on the
corners, making them strong and stable first.
Those in place, they then infilled the long straight sections.
October 9, 2013
With the foundation blocks all set, the hole is being backfilled.
Next up, the addition floor and walls.
Inside, the floor has been cut for the new staircase.
October 18, 2013
The floor joists are going in. Phil makes calculations for his
next piece. As the saying goes, measure twice, cut once.
To open up the existing house to the new addition, two large
beams are installed to support the second floor. This is the
second of the two, separating the living from the kitchen.
Here you can see both new beams in place. The dining room
will come off to the left, the kitchen off to the right. A new
mudroom will in the corner closest to the camera.
October 24, 2013
New exterior walls are built on the floor, then raised into place.
Window and door openings will be cut out of the
housewrap when the units themselves are installed.
Walls up on this corner. Work will continue around the addition.
October 31, 2013
Roof structures are being installed. The temporary structure
enables us to dry in the addition quickly and build the porch later.
Sheathing being installed on the new roof trusses.
Roof construction is set at this end of the house, and will
move down the rest of the way toward the front.
The view from standing between the living room and the
dining room, looking toward the window over the sink.
November 7, 2013
This little roof is coming off and a better sloped room will
replace it that flows into the roof on the addition.
In the midst of demolishing the roof.
This wall here will be removed to expand the rec room.
This large beam will support the second floor
once that wall is removed later on.
November 14, 2013
Roof framing is complete and sheathing installed.
Followed quickly by shingles.
Up on the original house, the existing roof was stripped off
and is being replaced with new, to create a seamless look.
November 25, 2013
Window installation is moving forward.
New sliding glass door to the screened porch.
View from the kitchen back toward the living room.
December 6, 2013
The existing front porch was severely deteriorated. Rather than do a
surface patch, we elected to remove the slab and rebuild it properly.
Here in the office/rec room area, the existing floor was a small step
down from the rest of the first floor. We are installing furring strips
to raise it up and make everything flush and even.
December 12, 2013
The view of the addition from the rear.
The new front porch slab and steps have been poured.
Inside, framing is finishing up. Here is a view from
one of the offices, looking toward the rec room.
December 18, 2013
Here we are blowing insulation into all of the exterior walls.
We chose blown-in cellulose insulation on this project as a
good compromise between price and efficiency.
The front elevation work is just starting. There will be new columns
and a new railing up above still to come later in the project.
January 10, 2014
The basement stairs are being constructed.
This will give far better access to the basement than before.
January 17, 2014
Drywall has been installed.
From the kitchen, looking across the family room. The lower
area of these walls will be covered in wood wainscotting.
Living room, looking toward the dining.
January 25, 2014
Hardwood floor work is next in this project.
Here you can see where we patched the floor, covering up what was a
hatch for access to the basement. This was replaced by the new stairs.
The new floor of the addition blends seamlessly with the existing.
February 1, 2014
When you put an entire kitchen worth of
cabinets in once place, it makes quite a pile.
Base cabinets being installed in the new kitchen.
The round base there will support a curved countertop seating area.
February 14, 2014
Tile has been installed in the bathroom shower walls.
The mudroom cubbies are all in place.
As is the new mudroom door.
March 1, 2014
Granite Uba Tuba countertops are being installed in the kitchen.
In place, ready for comfortable seating around the peninsula.
Countertop install at kitchen sink.
March 14, 2014
Finished bathroom tile, with an accessibility
friendly zero-clearance shower.
Wainscoting installation has begun in the dining room.
Stove and hood are in place. The white tile backsplash is installed as well.
March 31, 2014
On the first floor, the walls are being painted.
We are patching the plaster upstairs where walls have been moved.
April 7, 2014
The exterior porch is coming along well.
Interior of the porch, with wood siding and breadboard ceiling.
Kitchen is nearly finished.
White subway tiles installed as kitchen backsplash.
May 1, 2014
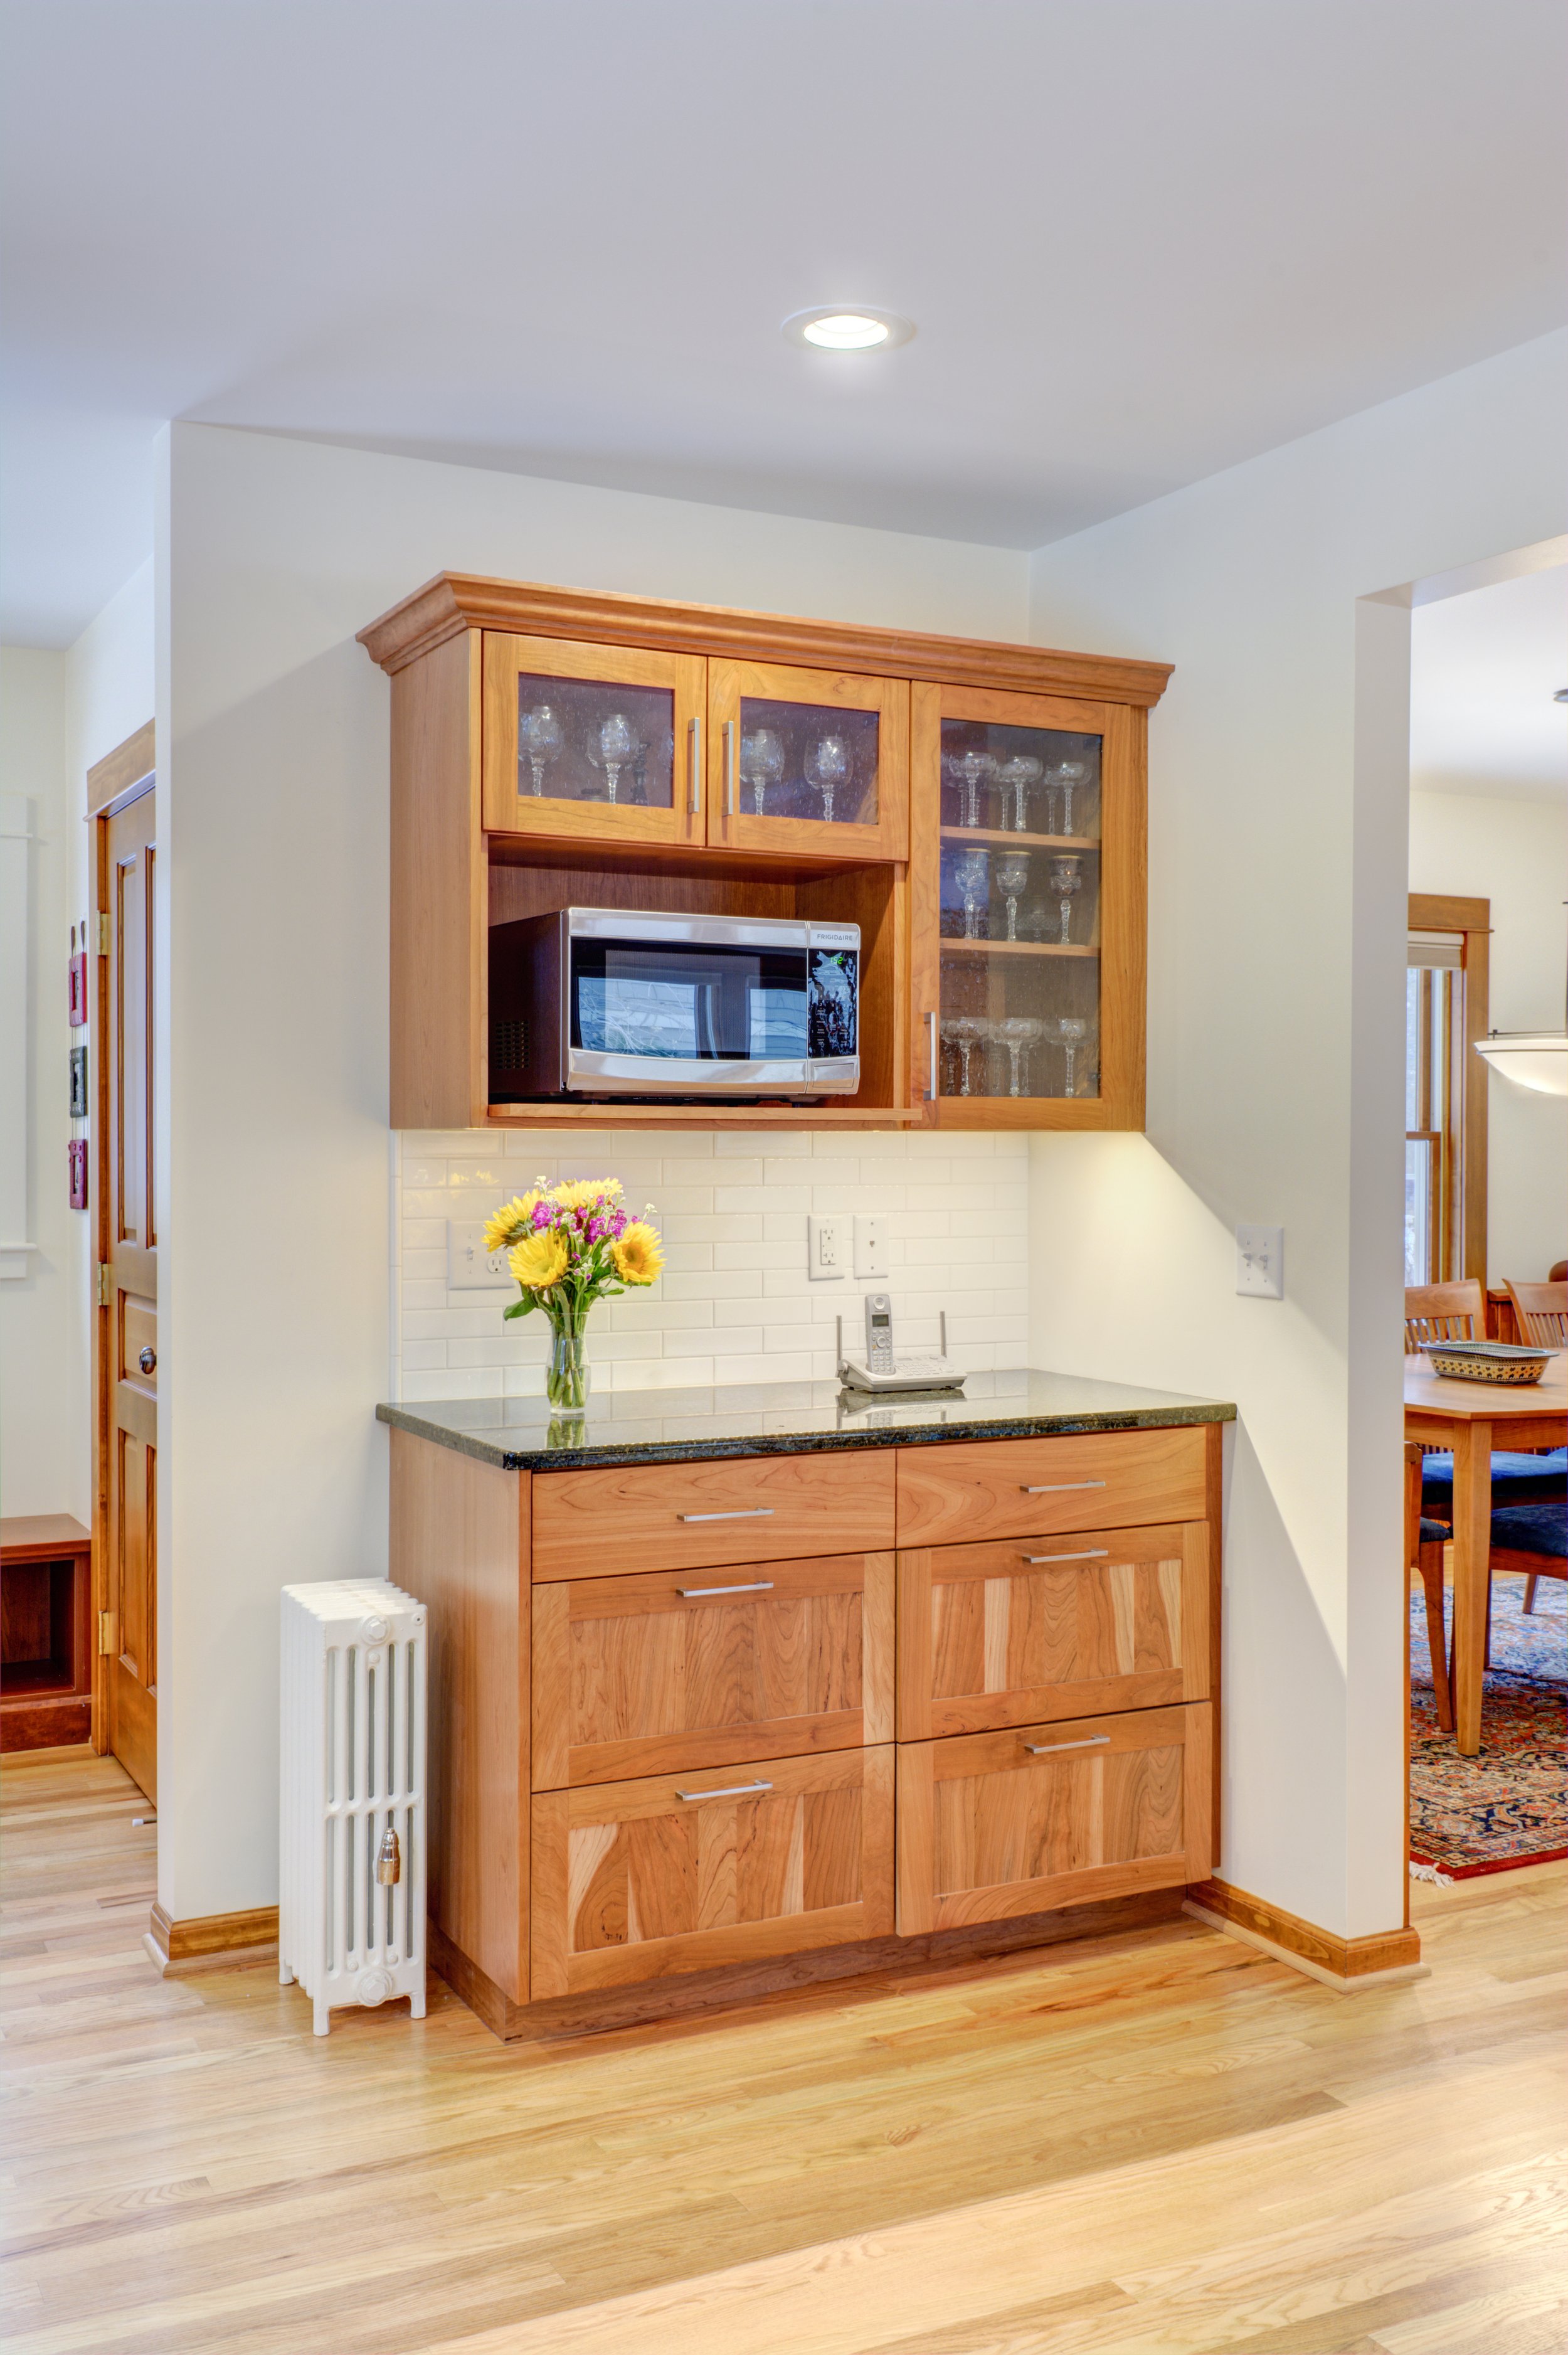
finished kitchen
finished stove
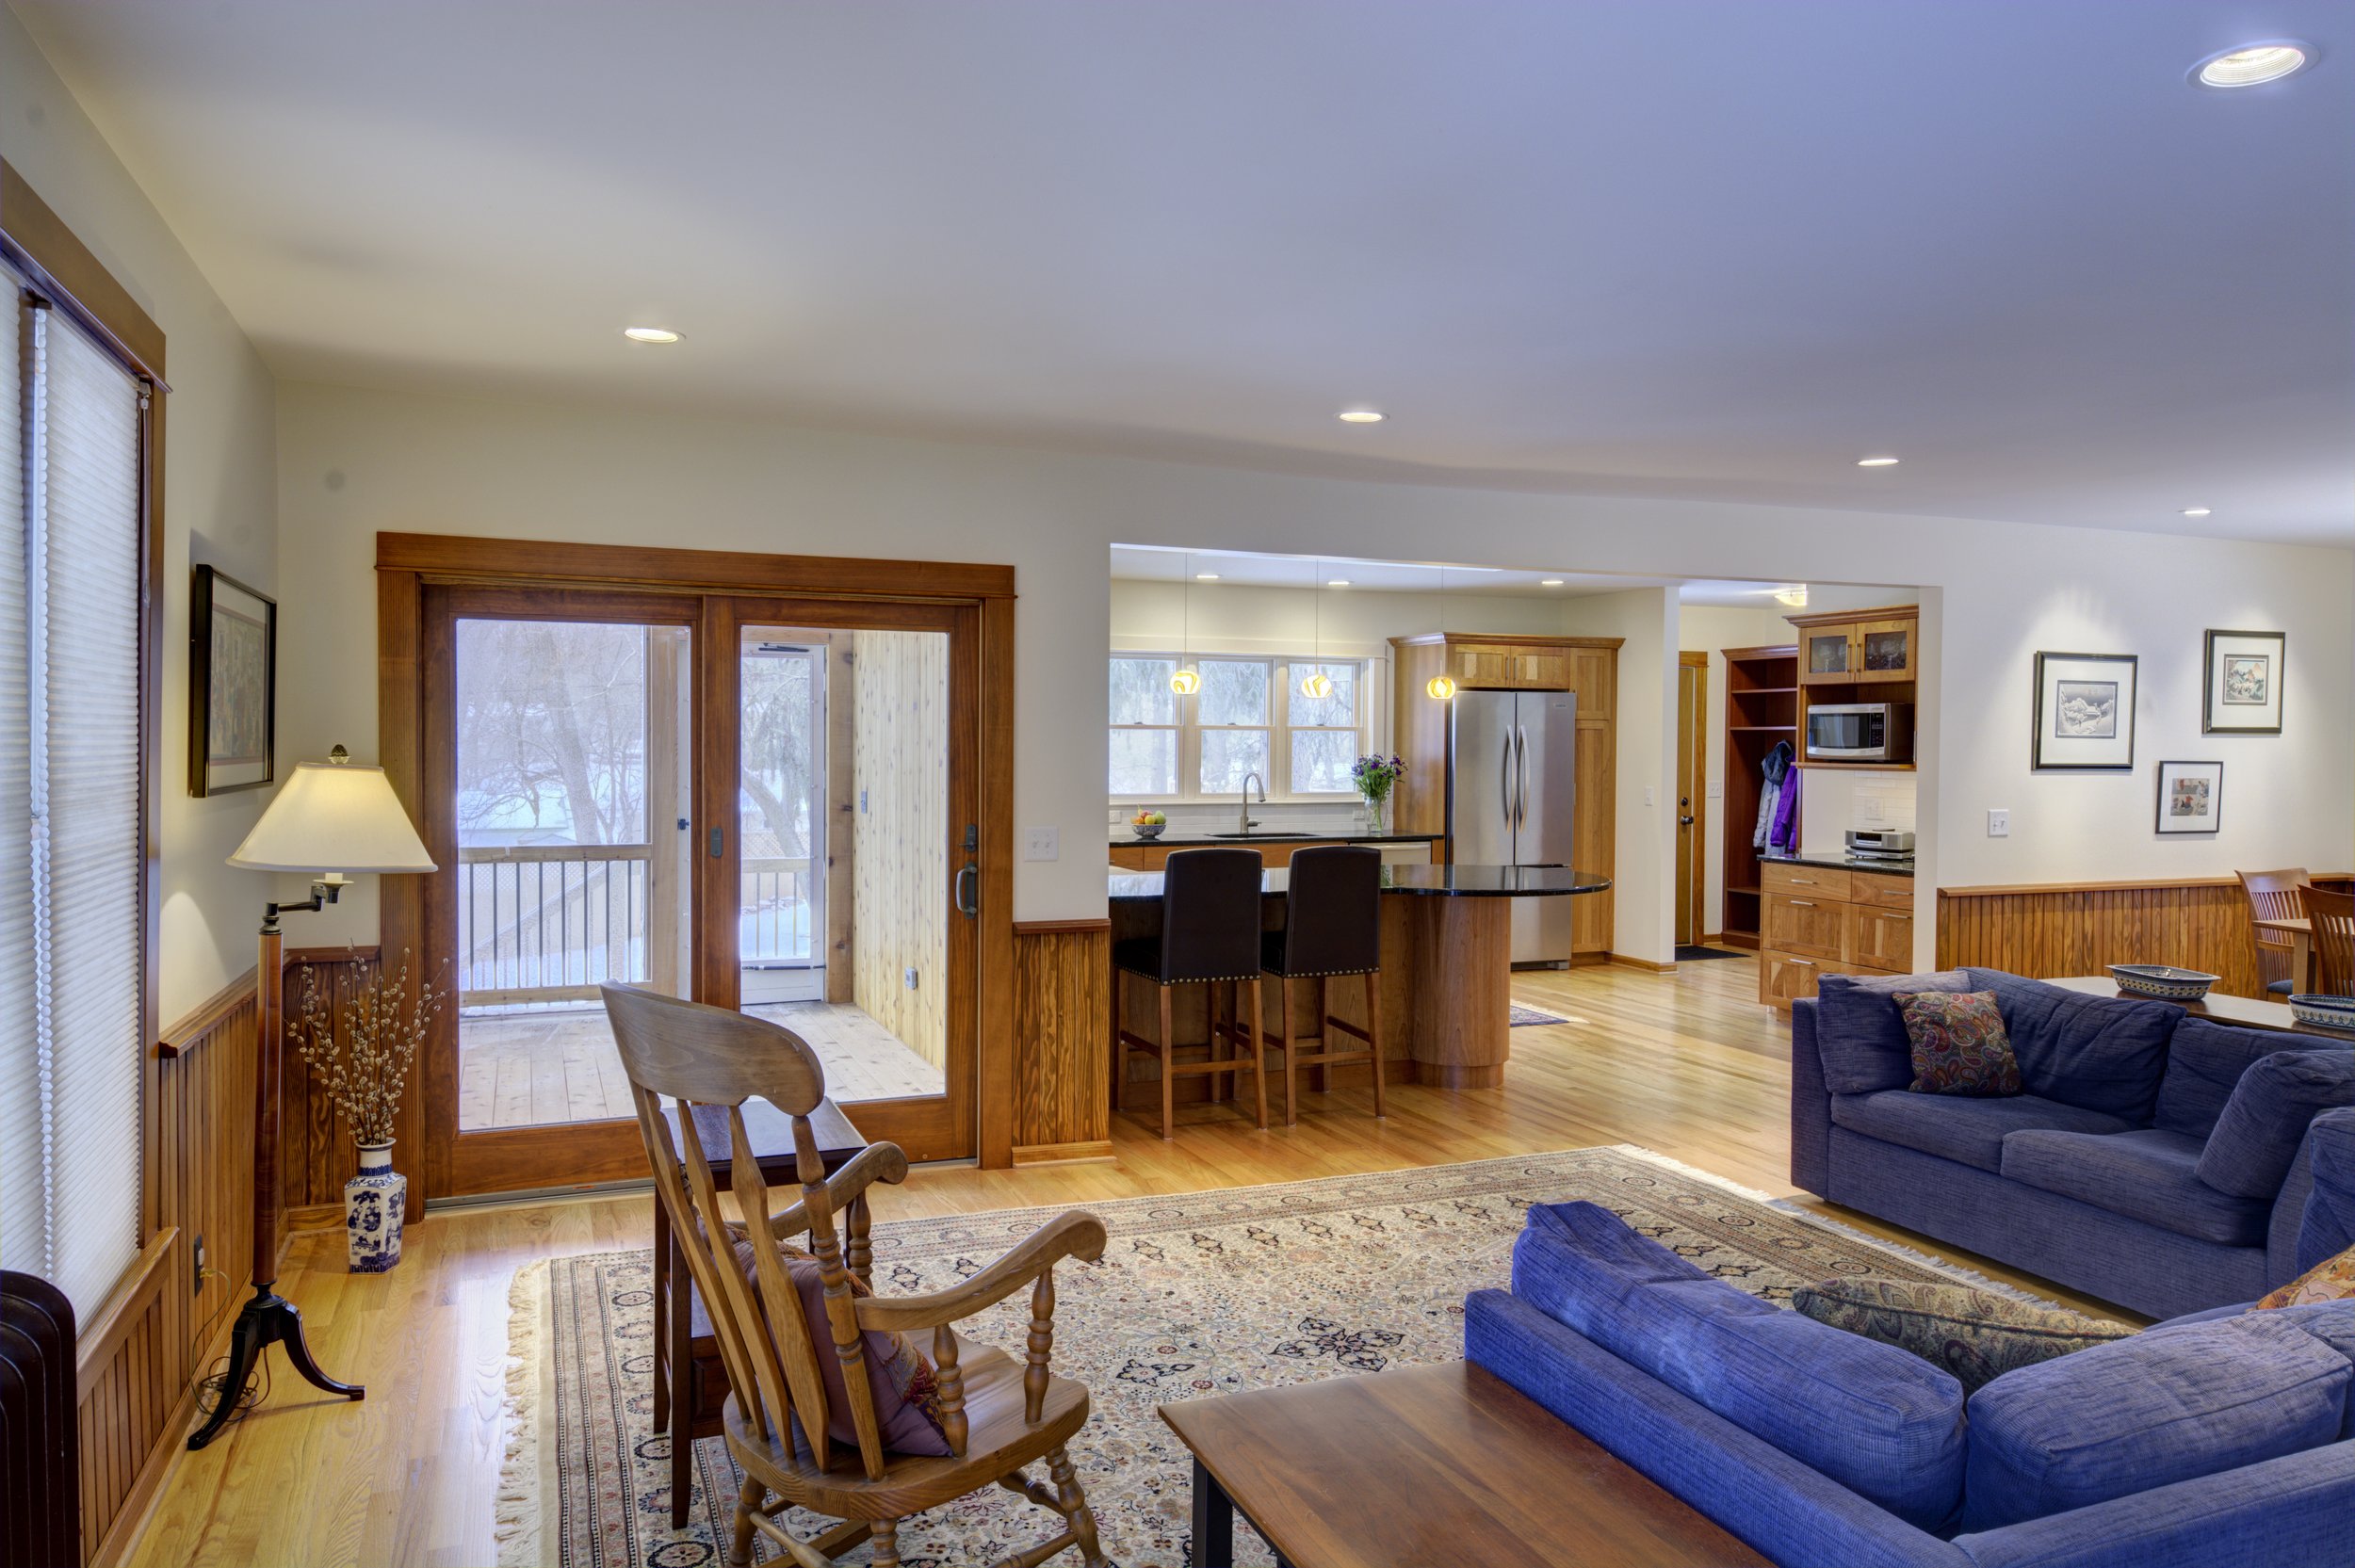
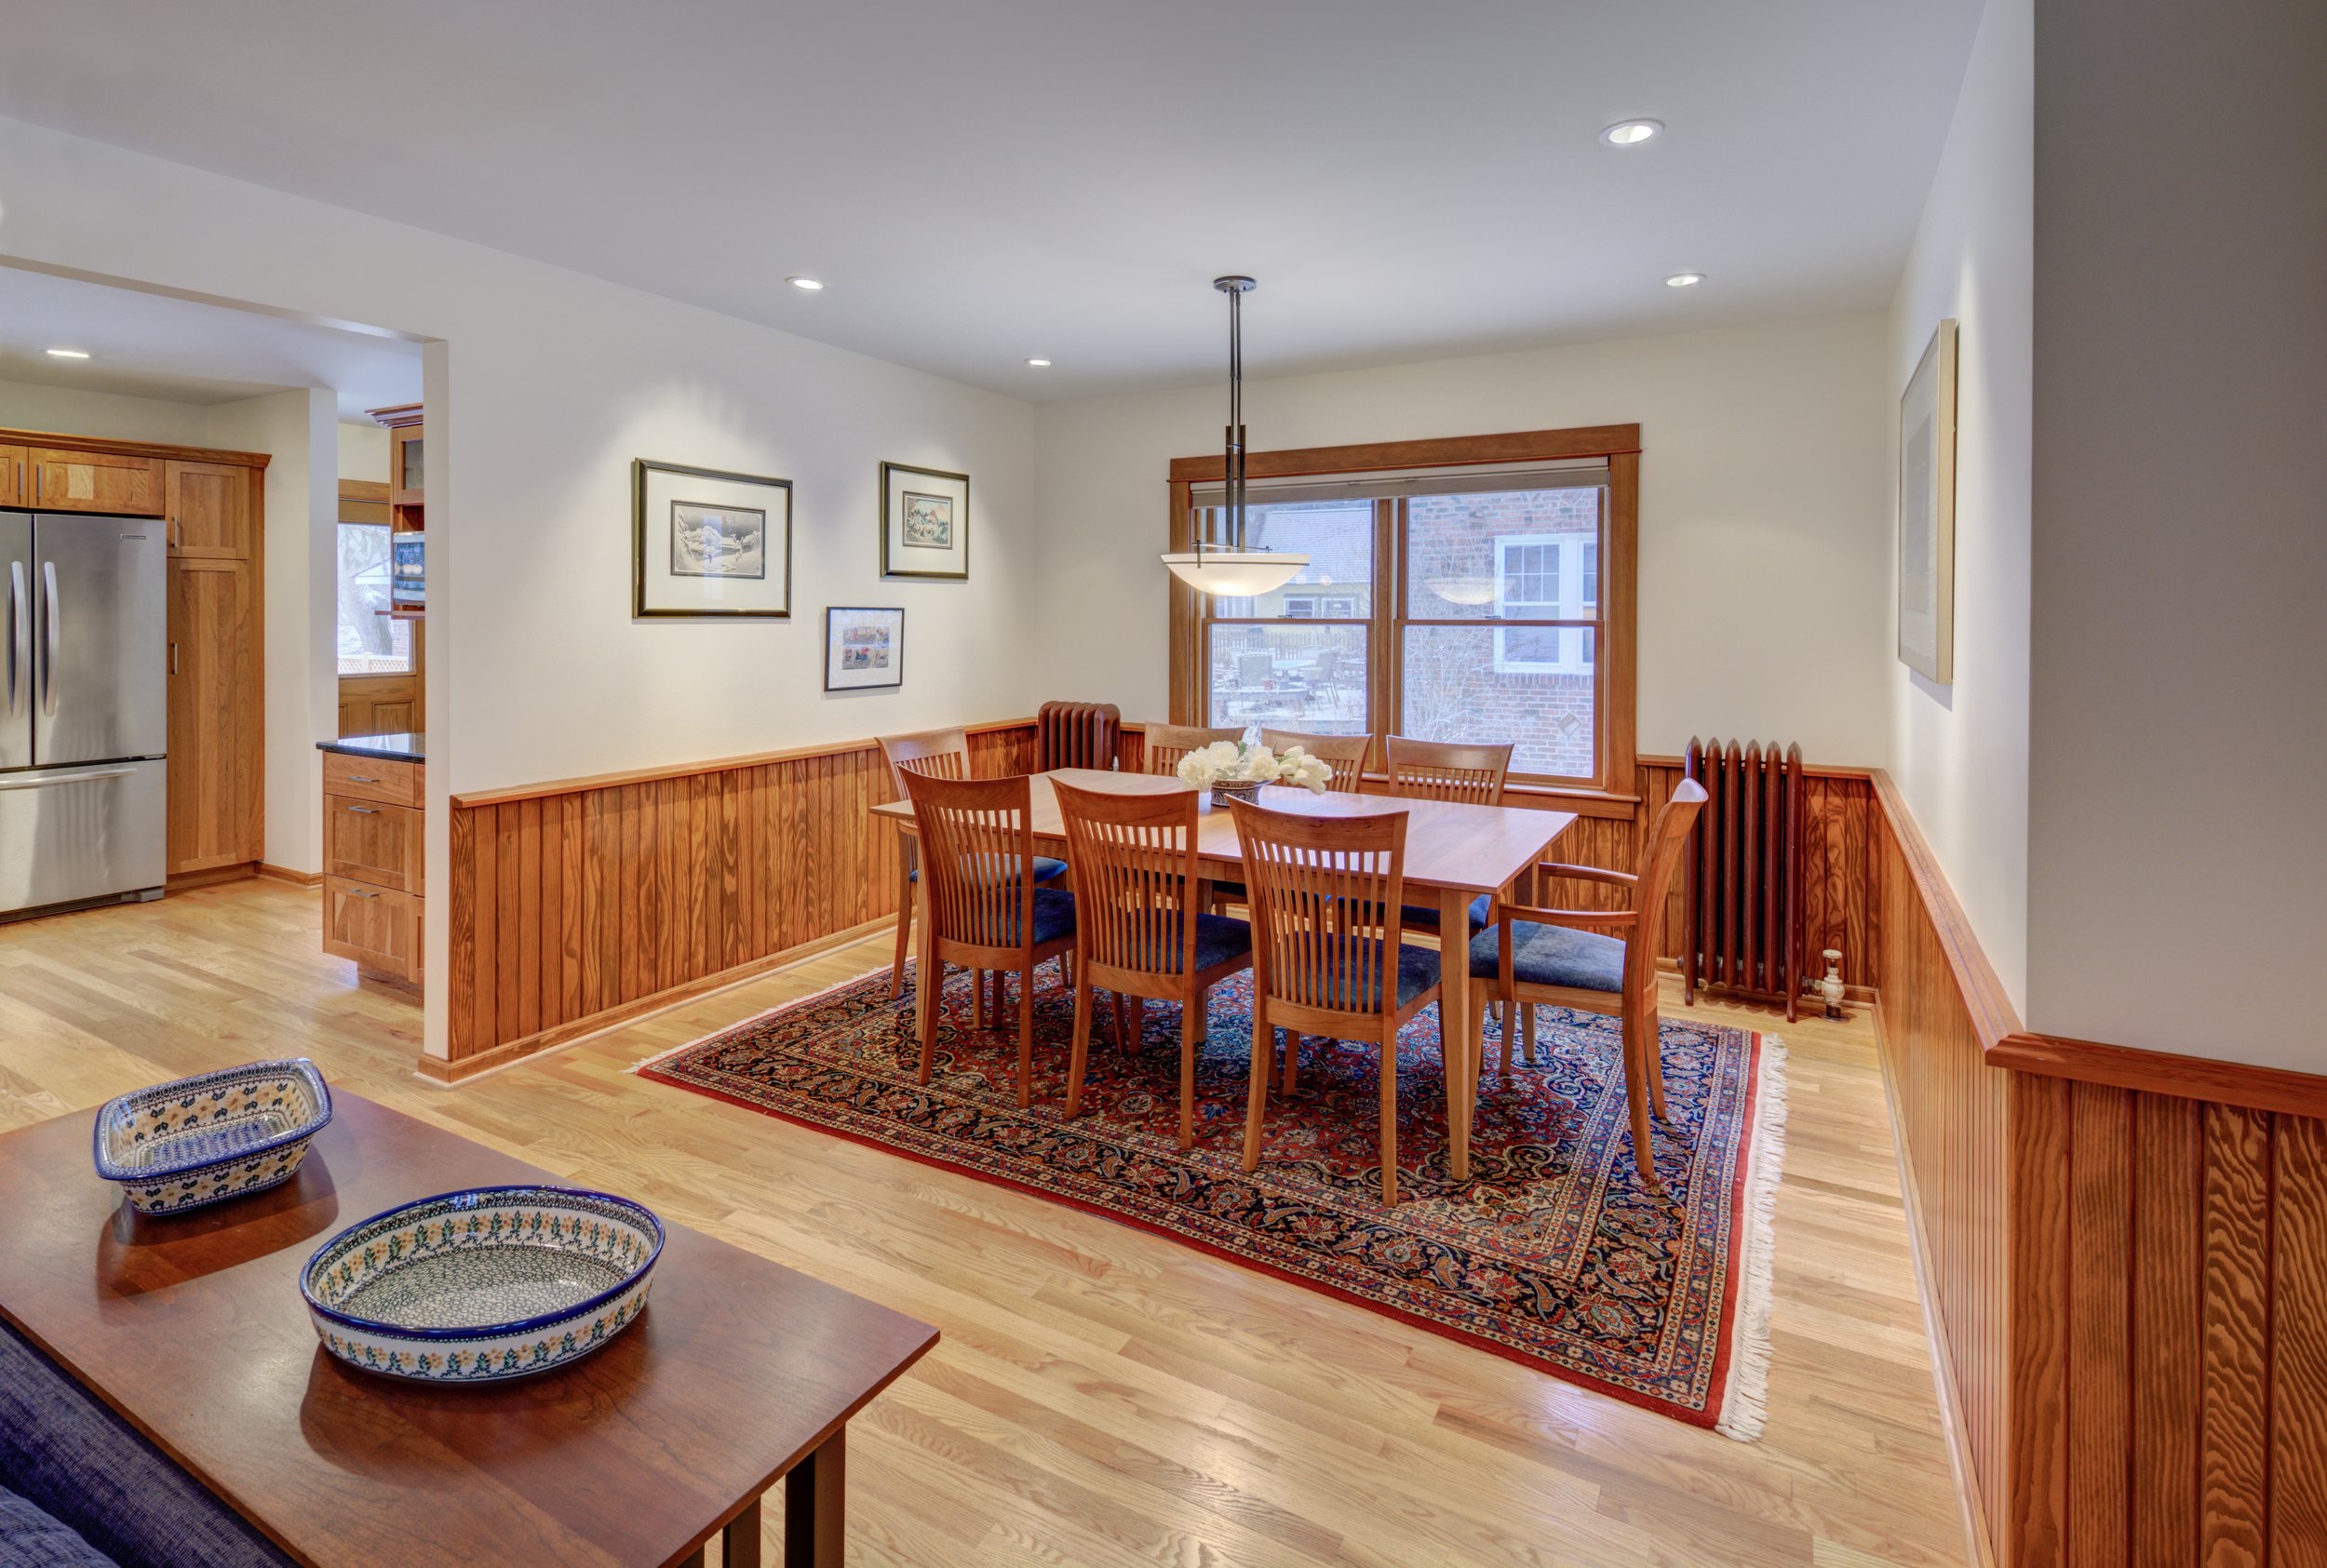
living room
and dining room cove
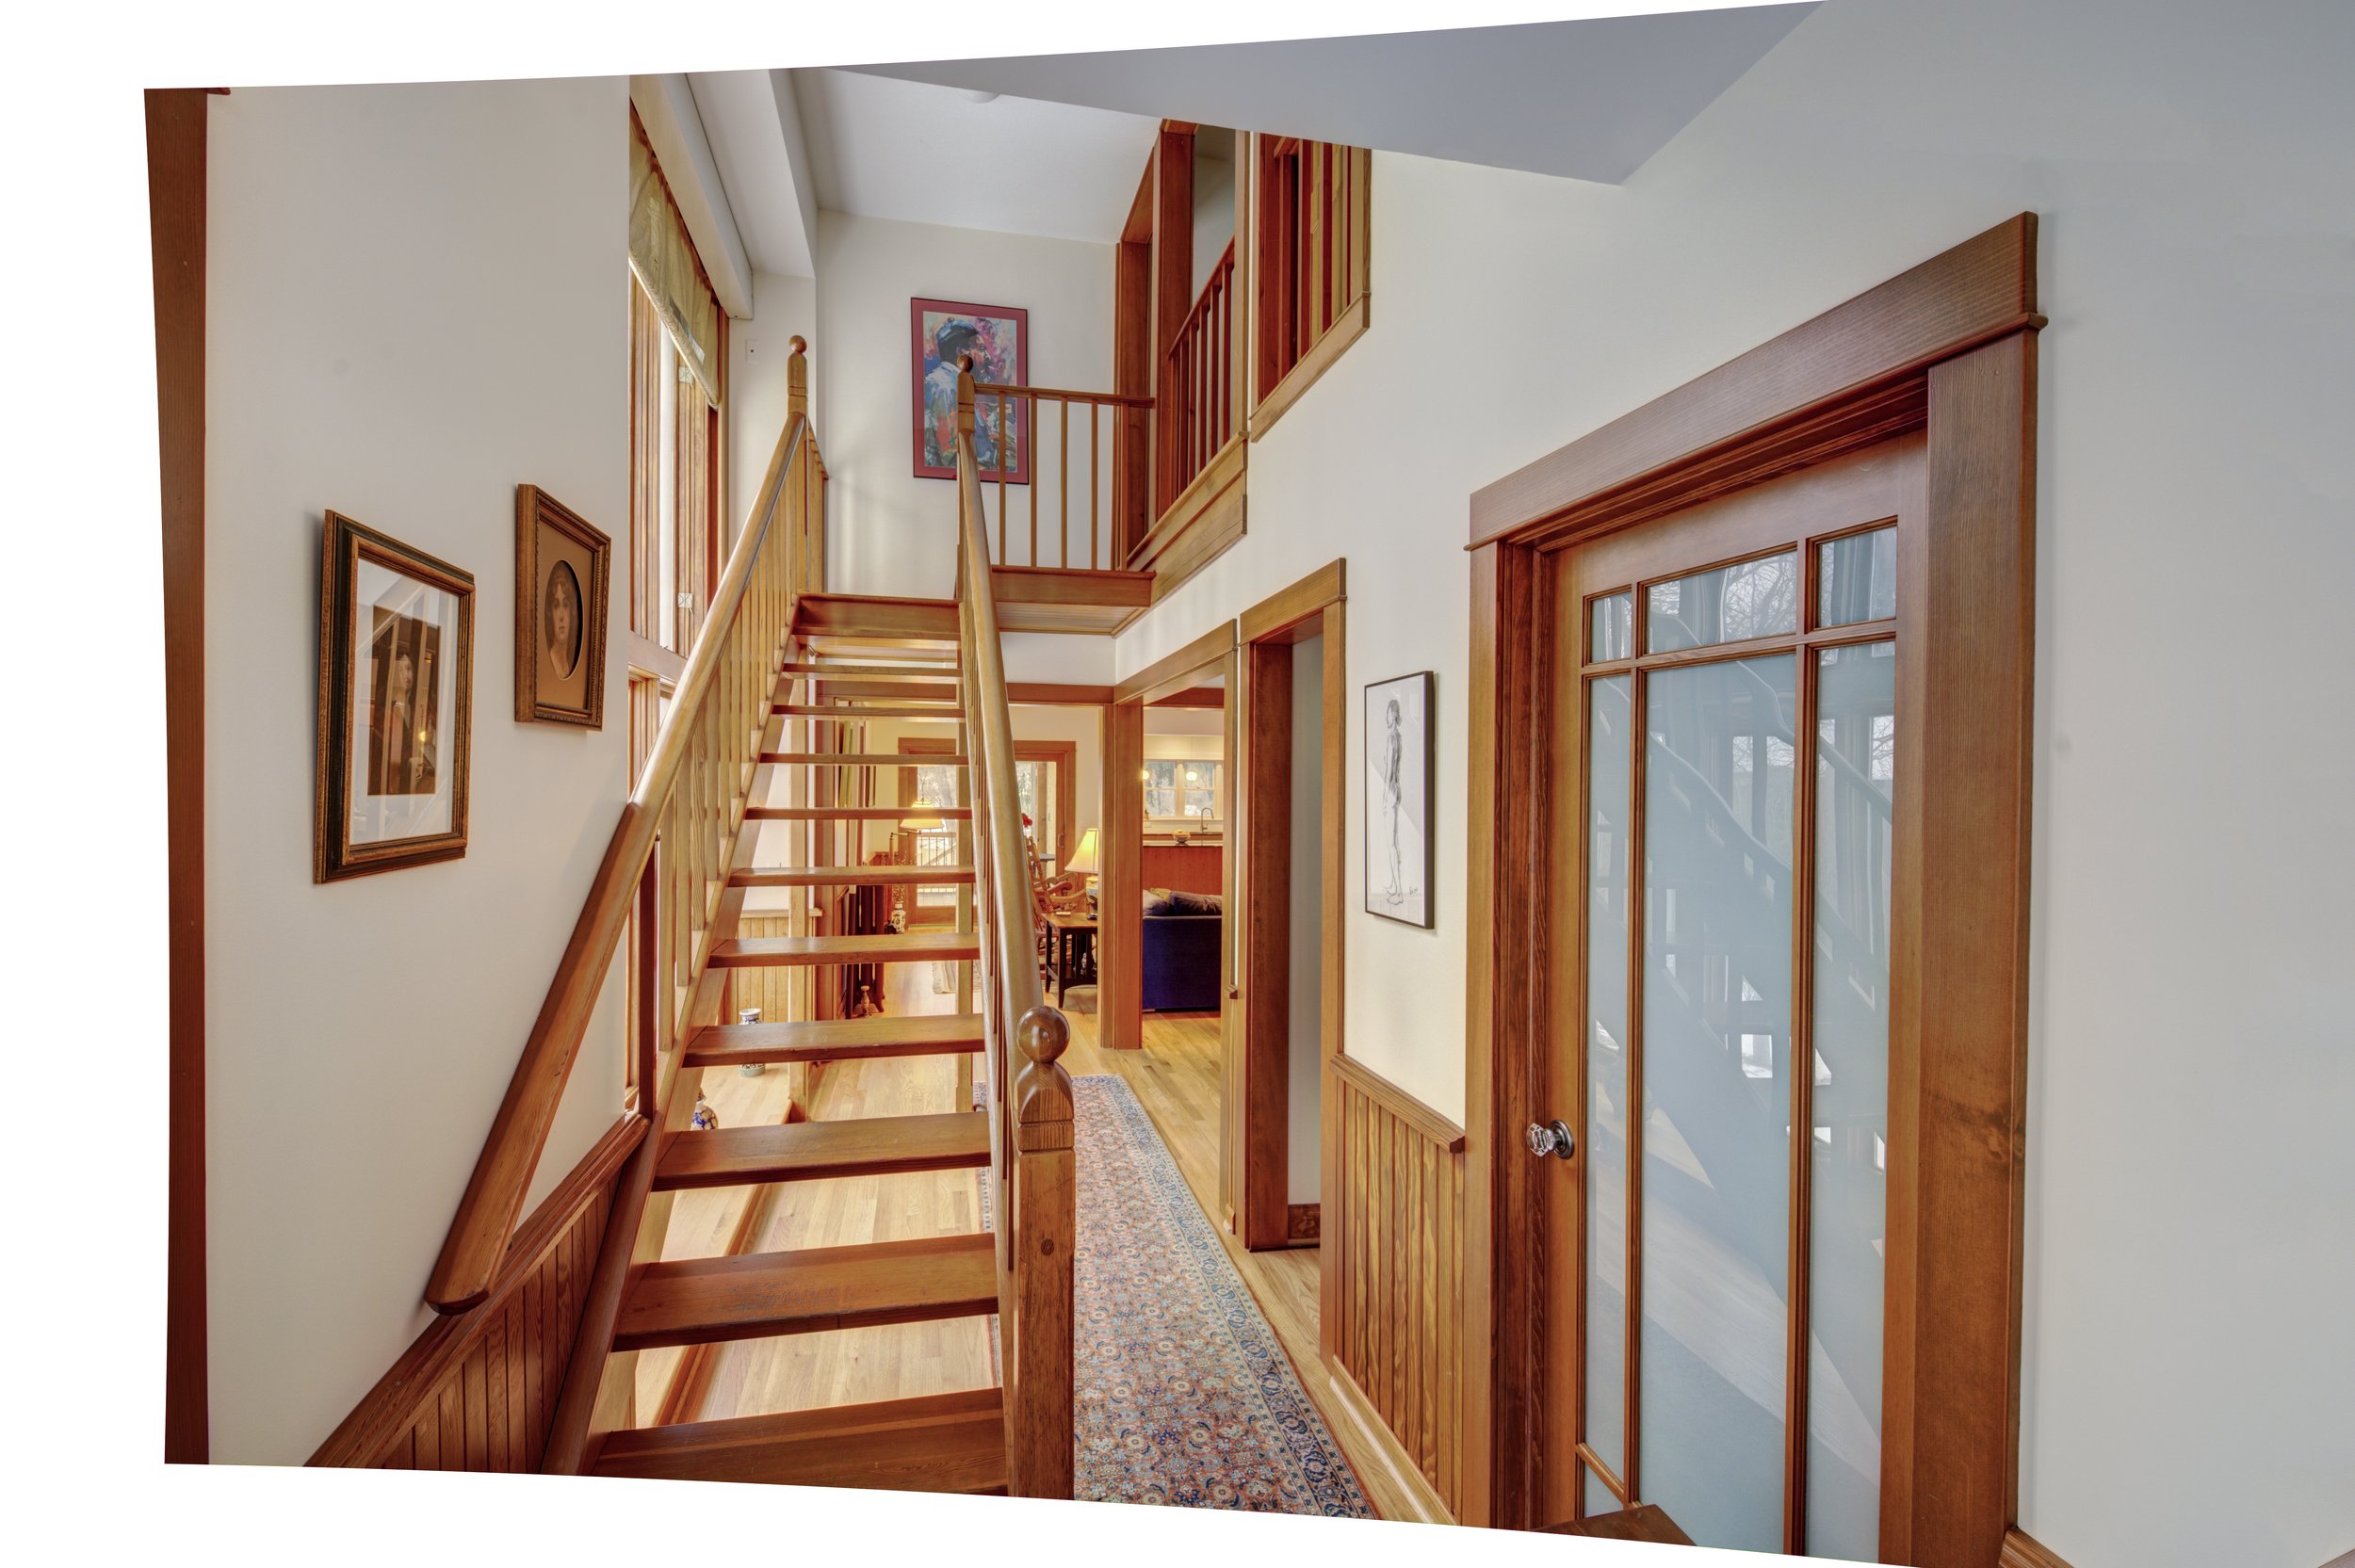
the new front entry
and first floor bath
finished front porch
and addition and its aftermath
finished screen porch in the nick of time
because I'm out of descriptions and out of of rhyme :-)